Sunday, July 28, 2013
Supporting Film Photography
Believe in Film Giveaway
http://believeinfilm.com/stuff/win-2-rolls-rollei-digibase-cn200-pro
Also, check out BelieveinFilm.com in general, great blog about film photography.
Freestylephoto.biz is without a doubt one of the best resources for film and darkroom supplies. They rock my socks. Buy all their stuff and show 'em love. I always go there first to look for what I want.
Lomography.com sells interesting plastic cameras.
http://photoboothsf.com/ Does tintype portraits and has workshops for tintypes and instant cameras.
photoworkssf.com will develop film via mail for a great price.
Raykophoto.com is a gallery and studio in SF offering workshops and hosting an annual Toy Camera Show.
Photojojo.com mixes digital with film, and has some interesting toys.
Happy Shooting!
Tuesday, April 2, 2013
Studio Update
I’ve added more gadgets to the studio and finished a handful of shoots.
Here’s an update about what I added:
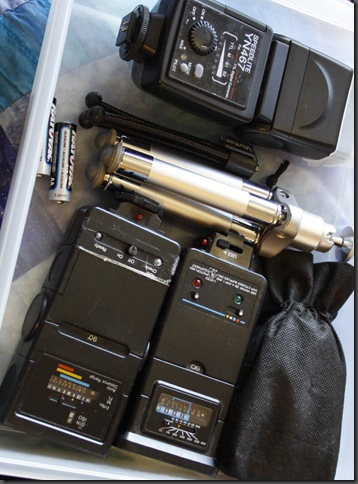
Electronic Flashes – I own 4 flashes. A Vivitar (which I have a PC sync cord for), a Minolta, the funky flash that came with my Diana and a Yongnuo which has a slave mode.
I also rigged both of my tripods and some fishing line to suspend a backlight flash with.
Here’s what I did:
I put my Canon 50d on a tripod at eye level with my subject. I attached my Vivitar to my DSLR with the PC sync cord on a second tripod that was slightly up and to the left of the camera. I put the flash on “Red Circle” mode (I don’t know what that means, but it worked for this shoot). I put a diffuser on the flash. I attached it with scotch tape, because it is made for a different flash, so there’s that. My f-stop depended on how close my subject was and what power I had the flash set to.
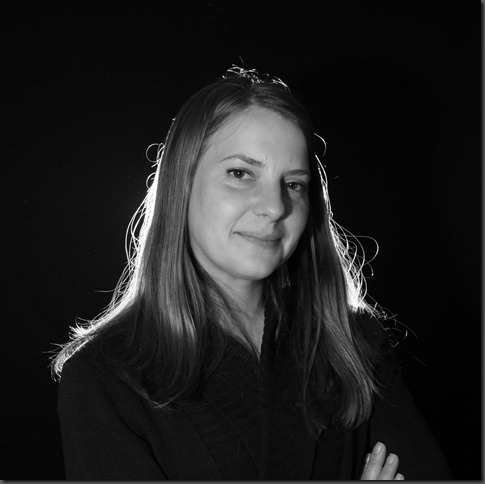
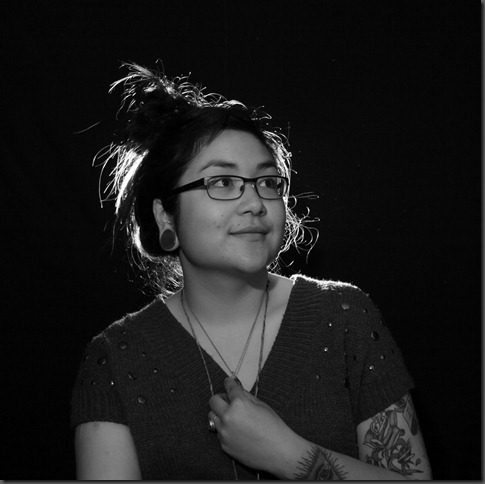
I wanted to play with backlighting and the halo it can produce on hair, so I put my Yongnuo on slave mode at just above 50% power and suspended it directly behind my subject’s head using fishing line. I set my camera to M and shot at ISO 125 at f 4.5. Shutter speed was not really a factor, because ambient light was so low. Some of these shots are at 1/100.
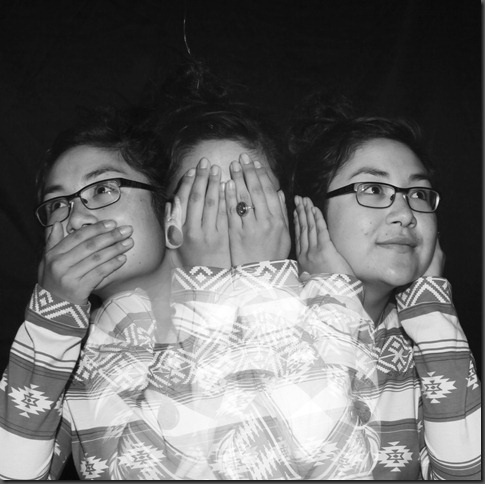
For the this shot, I shot on bulb and manually fired the flash 3 different times. There are a few ways you can do this. You can make the room absolutely dark and use the same flash by triggering with the button on your flash. Or you can trigger 3 flashes at different times, which is what I did. Since I used 3 flashes, my biggest obstacle (besides juggling holding them while also holding down the shutter button and not shaking the camera) was balancing the power on all 3 flashes. The goal is to set the aperture and maintain a constant amount of light from all 3 flashes. It’s really important that at least 2 of the flashes allow you to adjust power manually. I used the Diana flash, Vivitar Flash set to “Yellow Triangle” and Yongnuo on bar 5 of 7.
The nice thing about digital is the instant feedback. I don’t think I could have done this easily on film. It took a lot of playing to figure out f-stop and flash power. However, once I got my exposure set, I could have switched from digital to film for the final shot.
In other words, fuss with your settings until the camera does something pretty. Use the internet and your camera/flash manuals as a guide. Most importantly, HAVE FUN!
-Kelly
Monday, February 11, 2013
Setting up a Home Studio
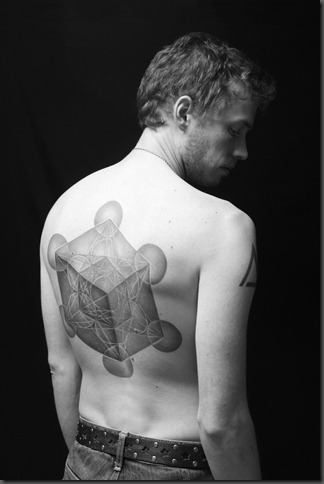
I am currently undertaking a film portrait photography project, and one thing I wanted was to have some consistency for each of the photos. Both consistency in background, but also in lighting scenarios. I decided I needed to set up a small studio space in my house.
First, let me start by saying that this isn’t meant to be a super versatile studio, and it’s geared towards black and white film photography. I made it entirely using items I had on hand (although, I have written a few suggestions for improvements I hope to make over time). The space is relatively small, since I’m focusing mostly on headshots. I also am not worried about the color temperature of the lights, since I will be shooting black and white film, so as long as they are close, I’ll be fine.
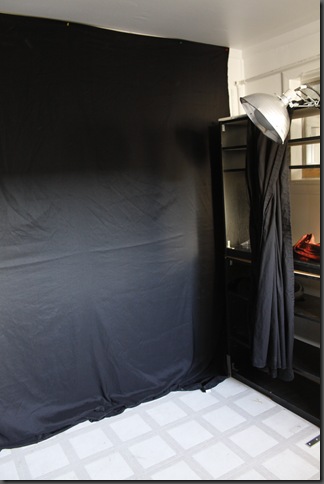
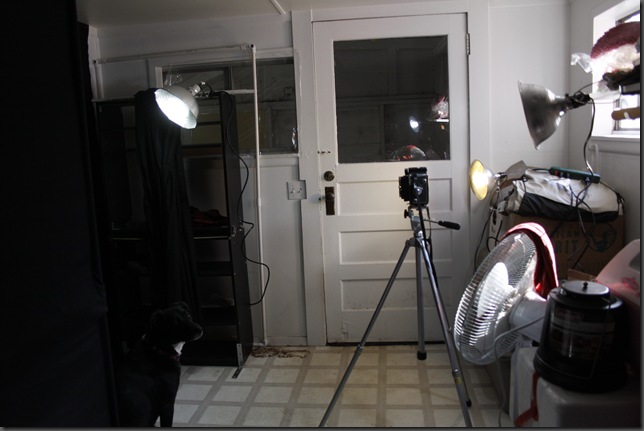
I am using the back portion of my laundry room. The space is about 10 ft x 10 ft. In the photos you’ll see the shelving and curtains for my photo booth (I started setting it up for fun), my storage space for camping gear, and my dog’s kennel. I’m not using the space to bring in clients, so I care more about it being functional than pretty.
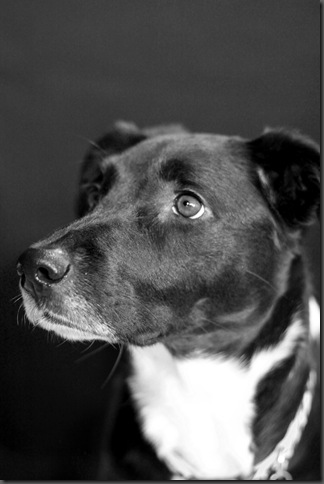
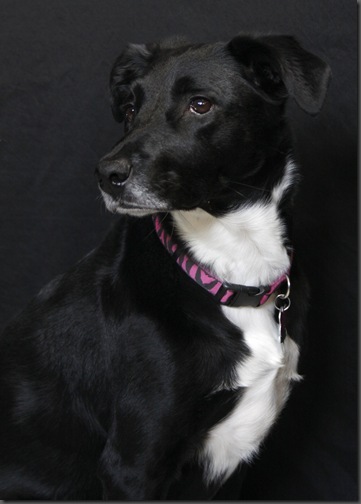
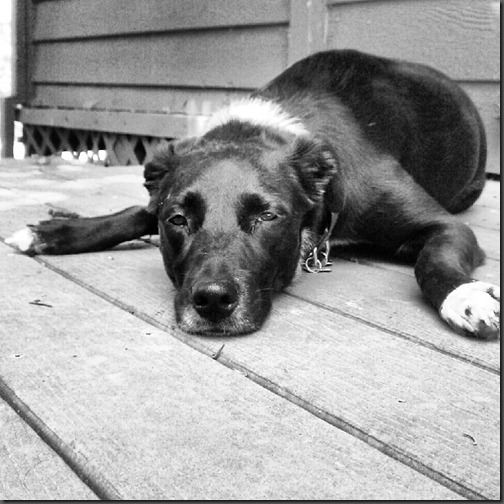
I started with the flat sheet from a full sized sheet set. I’ve found that I can pick up a twin or full sized flat sheet from Walmart for around $5. They’re not very thick fabric, so make sure you are placing them against a wall and there is no light source behind them. I attached the sheet to the top of the wall using push pins. In the future, I’d like to have a gray sheet on hand as well. As you can see below, my model (my black Labrador-Aussie, Chloe) blended into the backdrop. A gray sheet would have worked better.
Next, I pulled out a set of clamp-on shop lights. I’ve equipped the lights with daylight replicating CFL bulbs. I have one clamped above and to the right of the sitting space and two right behind me. I also have 2 additional shop lights at my disposal that hang on hooks. Pretty simple. When I got these, it was about a $30 trip to Home Depot. Again, I’m not worried about the color temperature, since I am shooting black and white! I also have a reversible reflector that I picked up on Ebay for $10. I may decide to upgrade to flash photography for this project, since I want to use a slow film speed. I currently own 3 speedlights (one which has a slave mode). I will need to get a wireless flash trigger and a PC sync cord at a minimum. I also recommend some way of diffusing the flash, such as umbrellas and stands.
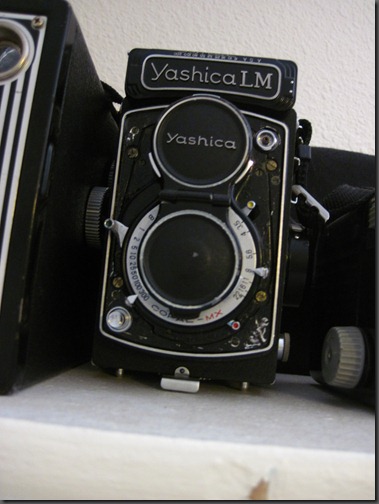
Finally, I have black chairs for subjects to sit in, a tripod and a Yashica LM (a 120 TLR camera).
My dog was kind enough to model for me for a second (literally, only a second. She was not interested in practicing her sit/stays).
I think every good photo studio needs a dog.
The whole point of this project is to show how easy it is to improvise a space that will offer some control and consistency with your photos. I promise to share results of the photo series in the future.
-Kelly
Wednesday, January 30, 2013
Scanning Paper Negatives
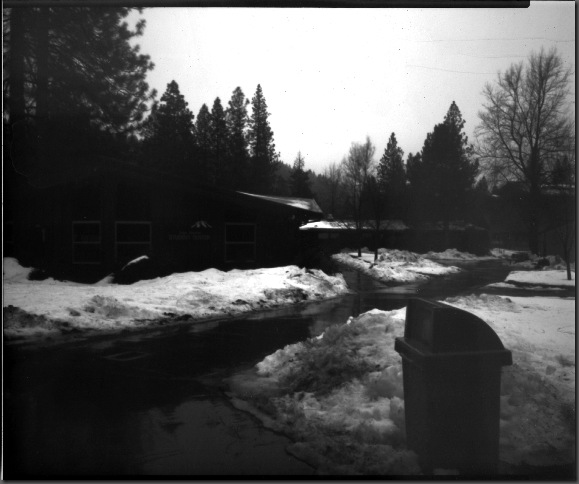
In the world of pinhole photography, the result is often a paper negative. As far as analogue is concerned, this typically relegates the user to a contact print, limited in size by the original negative. The digital world, however, opens new size possibilities.
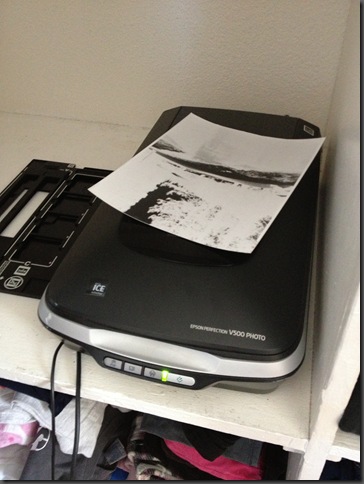
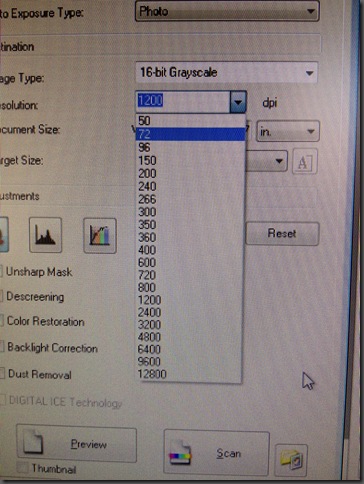
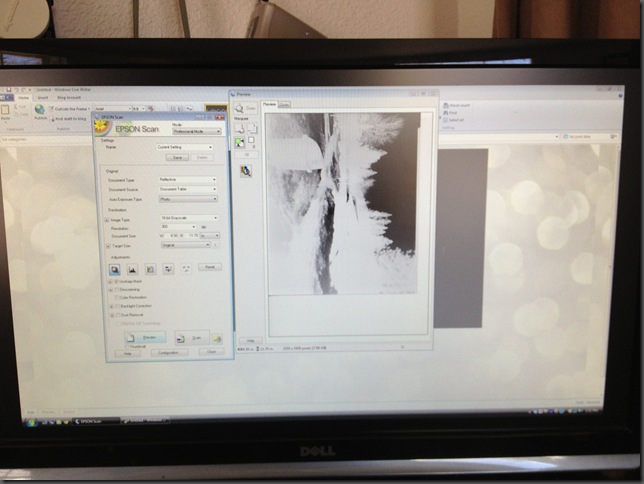
For this exercise, you’re going to need a film scanner. I have an Epson Perfection V500 Photo Scanner. It’s not too expensive on Amazon and it scans up to 12,800 dpi. Typically, the idea goal for printing digitally is 300 dpi. Explaining digital printing and pixels is a topic for a whole other post, but here’s the short version: dpi is dots per inch. The goal is 300 for a good quality printed photo. So, if I scan an 8x10 photo at 3000 dpi, that means I can blow it up to 10 times it’s original size and still have a good looking print at 80x1000 inches. After a little math, I find that if I scan a 10 inch photo at 12,800 dpi, it has roughly 42 times the pixels needed for a 10 inch print and I can make a print that is 35 feet. It’s important to mention that I am scanning a product of film, which doesn’t have pixels, but scanning and blowing up will increase the size of the grain in the photo.
Scanning at high dpi takes a lot of time. Additionally, the file sizes are huge. But at only 1200 dpi, you have an image you can print up to 40 inches wide. When scanning the negative, you will need to invert the image in Photoshop as well as using the healing brush to clean up any stray dust or hair picked up during scanning.
Good luck with your film/digital crossover projects!
-Kelly
Monday, December 10, 2012
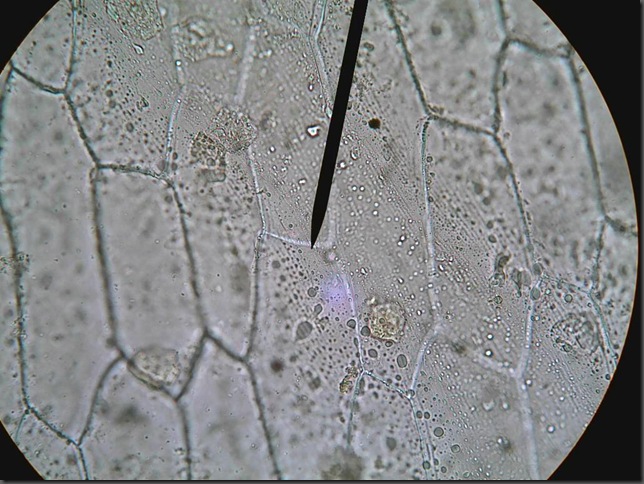
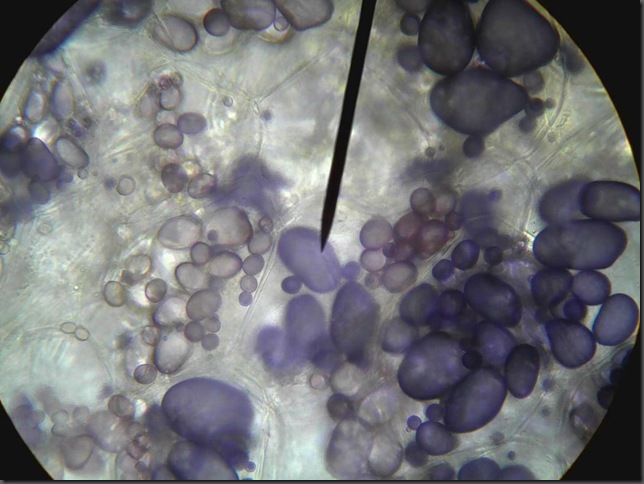
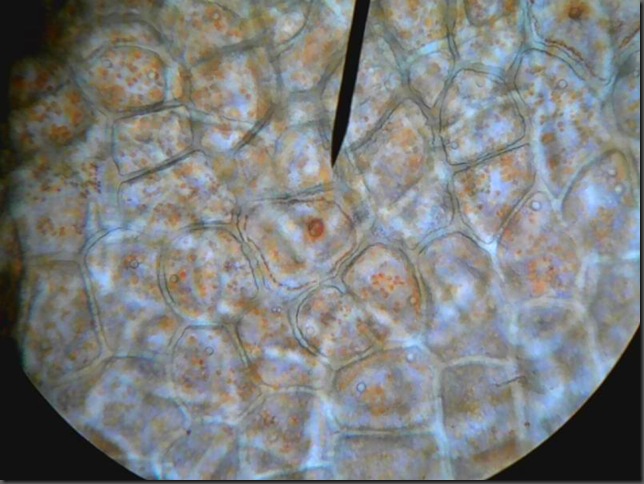
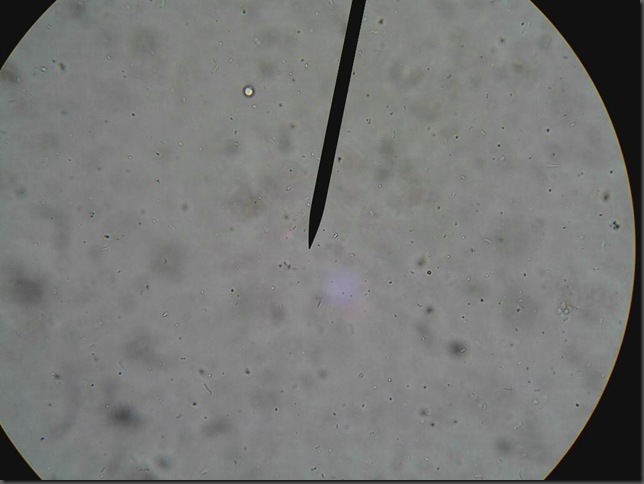
Life at 400x
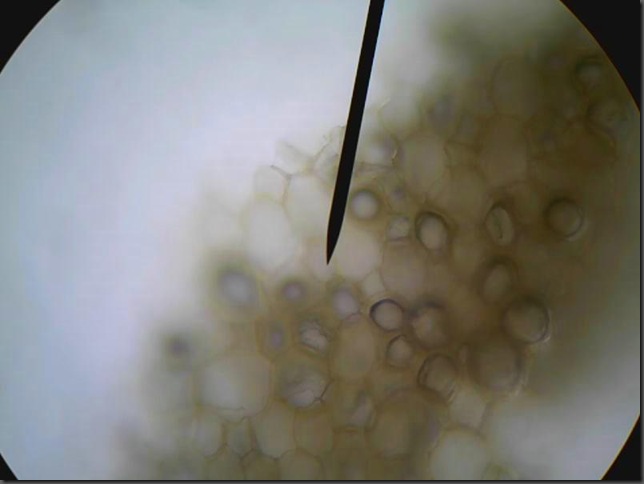
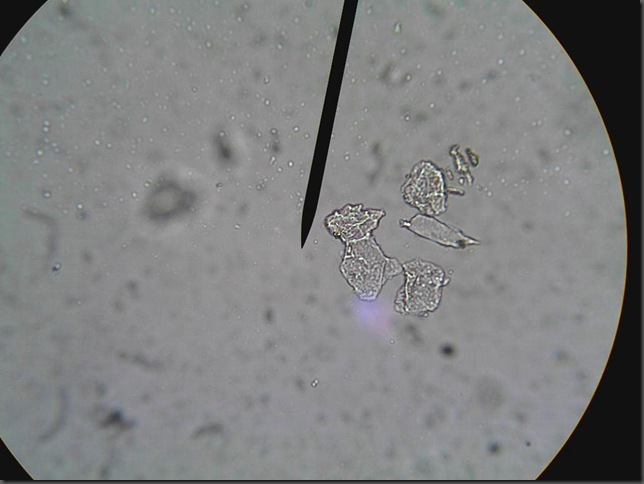
This latest photographic project has been possible due to my stint student teaching 7th and 8th grade science, specifically my unit on cell biology. I have access to an AverVision document viewer with a microscope adapter where I can photograph what the microscope sees. The resolution on these is too low for print, but I’ve already started looking into other methods of micro-photography.
Cork Cells
Dog bowl water containing dog mouth cells and bacterial cells
Onion cells and nuclei with iodine stain
Potato cells and plastids with iodine stain
Red Pepper cells and nuclei
Yogurt live cultures (bacterial cells)
I have 2 weeks of access to the microscope, any suggestions for what to examine next?
-Kelly
Thursday, August 16, 2012
You might be surprised that in addition to an obsession with analogue photography, I also like the various photo apps available for my Droid Incredible. Many look at digital as being in opposition to film, but they are both artforms in their own right and as a photographer, I enjoy hopping the fence back and forth between both worlds.
I think Instagram is to digital photography what the Holga is to film. The camera in a phone itself is fairly low quality (mine is only 8 megapixels) with few manual controls. It’s essentially a toy camera. Instagram adds in the fun of sharing photos via social networking. Much like a Polaroid, there is also the enjoyment of instant gratification.
If you have a smart phone, I recommend trying a few of the apps. Here’s an article I wrote for MCP Actions about fun photo apps for Droid. I have also used cell phone photos to make Cyanotypes, read about that here.
Feel free to follow me on Instagram @KellySamuelson
If you don’t have the app, you can also view some of my photos at http://kellysamuelson.tumblr.com/
PS: The lo-fi filter is my favorite. The frame simulates a filed film carrier.
-Kelly
Thursday, August 9, 2012
Thrifting, Gifting and Ebay. The story of my camera collection
I started shooting film when I was about 14 years old. Snapshots of friends, which morphed into portraits of friends. I fell in love with black and white CN film. I continued to love photography in college. I had a couple higher-end point and shoot cameras over the years.
Eventually, digital became a thing and for my 20th birthday, my mom dropped $300 on my first digital camera (a 3 megapixel Kodak, still point and shoot. Digital was still pretty new and my mom still has this camera at her house when I want it back).
Toward the end of my senior year of college, I took a film photography class that used traditional black and white film and SLRs. I borrowed a Pentax 35mm SLR from a friend for the class and fell in love with developing my own film. By the end of the class, I had spent about $100 or so on eBay obtaining my first film SLR – A Canon AE-1 Program with a couple lenses.
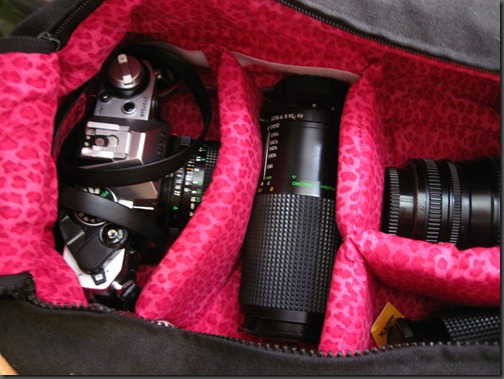
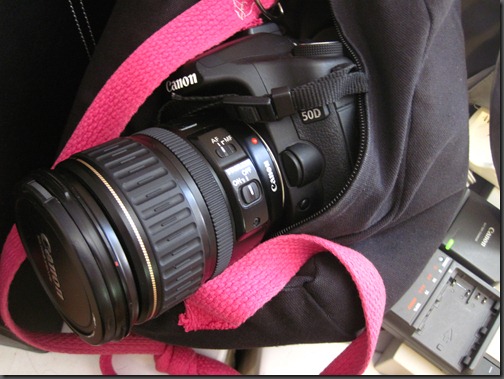
Flash forward a few years, and I now have everything ranging from $1 thrift store finds to this, my Canon 50D. Picked it up at Best Buy for only $1200… and that was before I bought lenses for it. I love it and always look at it as a true indicator of my dedication to photography. When you spend that much on a camera body, it’s gettin' serious.
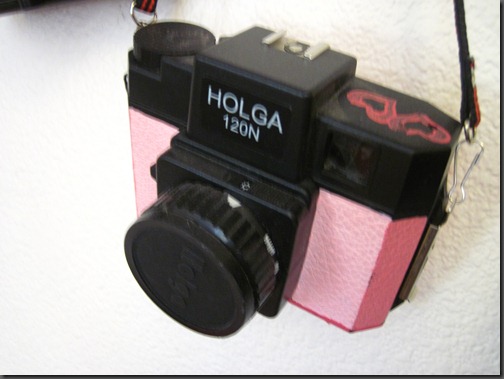
After I graduated with my BA, I still went back to the local CC, College of the Siskiyous to take film photography classes and play in the darkroom. I can't remember where I first heard about the Holga and all it's Lo-Fi goodness, but I was intrigued and had to have one. Once I had purchased my first Holga, I fell in love. I got it from Freestyle Photo for $30. I’ve since painted it pink, taken it apart, modified it and a bunch of other scary things, but I loved the toy camera and all it’s toy-camera-ness.
I also loved using 120 film. Nothing like an enormous negative to play with in the darkroom. I needed a vintage TLR in my life and grabbed this Yashica on eBay for $30. If you haven’t noticed by now… I keep getting EXTREMELY lucky with the prices of my eBay and thrift store finds.
