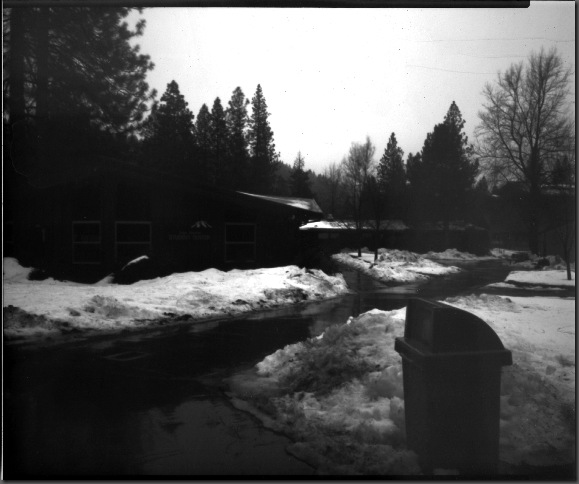
In the world of pinhole photography, the result is often a paper negative. As far as analogue is concerned, this typically relegates the user to a contact print, limited in size by the original negative. The digital world, however, opens new size possibilities.
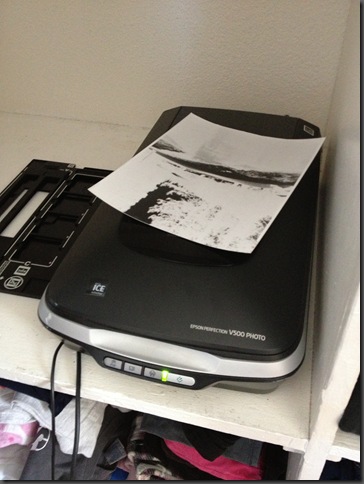
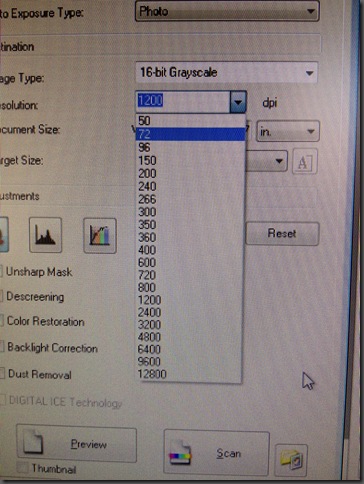
For this exercise, you’re going to need a film scanner. I have an Epson Perfection V500 Photo Scanner. It’s not too expensive on Amazon and it scans up to 12,800 dpi. Typically, the idea goal for printing digitally is 300 dpi. Explaining digital printing and pixels is a topic for a whole other post, but here’s the short version: dpi is dots per inch. The goal is 300 for a good quality printed photo. So, if I scan an 8x10 photo at 3000 dpi, that means I can blow it up to 10 times it’s original size and still have a good looking print at 80x1000 inches. After a little math, I find that if I scan a 10 inch photo at 12,800 dpi, it has roughly 42 times the pixels needed for a 10 inch print and I can make a print that is 35 feet. It’s important to mention that I am scanning a product of film, which doesn’t have pixels, but scanning and blowing up will increase the size of the grain in the photo.
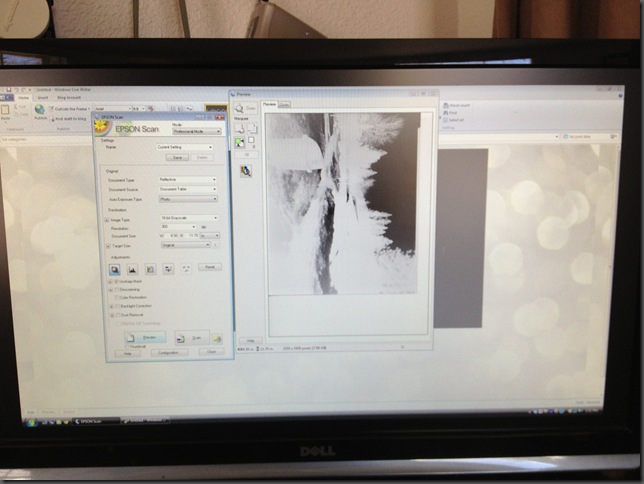
Scanning at high dpi takes a lot of time. Additionally, the file sizes are huge. But at only 1200 dpi, you have an image you can print up to 40 inches wide. When scanning the negative, you will need to invert the image in Photoshop as well as using the healing brush to clean up any stray dust or hair picked up during scanning.
Good luck with your film/digital crossover projects!
-Kelly


