Tuesday, April 26, 2011

Cyanotypes

Cyanotypes are an interesting, very very old photographic process. They’re super accessible for people who don’t have a darkroom. All you need is a UV light source (PS, the sun counts), a negative and water.


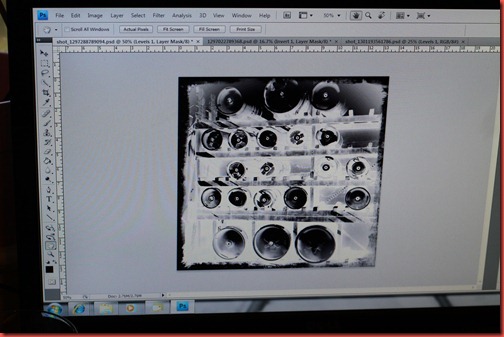
Step one, take a nifty looking photo with fairly high contrast and convert it to black and white in a photo editing program. Then invert the image to create a negative. Or you could use a real negative. Or you could do a Rayogram, which I’ll save for another time.


IMG_9300


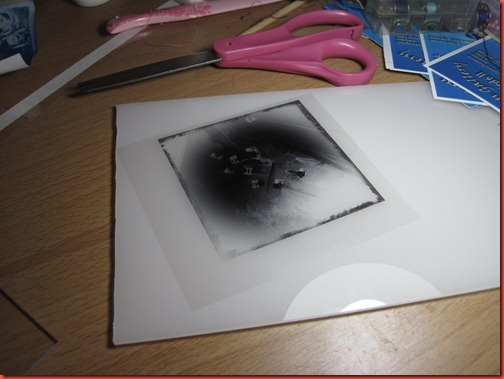
Print it out. Normal printer paper works fine. Printable overhead transparency paper works better. Cut out your negative.


IMG_6920


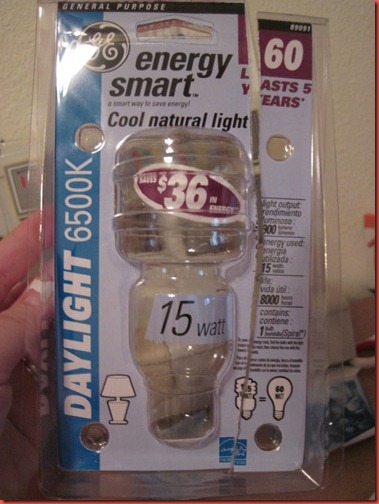
Obtain a light source. The sun is a great one, but when it’s cloudy (or night) or rainy, sometimes it’s nice to move the process inside. I found out that CFL light bulbs leak UV light (in safe amounts, according to various websites). The less coated or covered the bulb, the better. I went with the raw spiral kind (packaging shown below).


IMG_6921


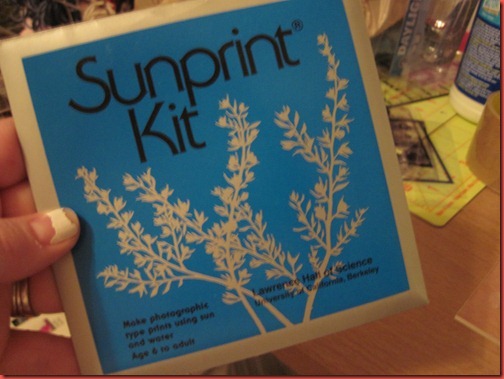
Finally, obtain some cyanotype sensitized material. You can go the easy route and by a Sunprint Kit like I did. They come in 4” and 12” size squares and include a piece of plexiglass.


IMG_6922


While you are not under a UV light source, take a piece of paper out and layer as follows:


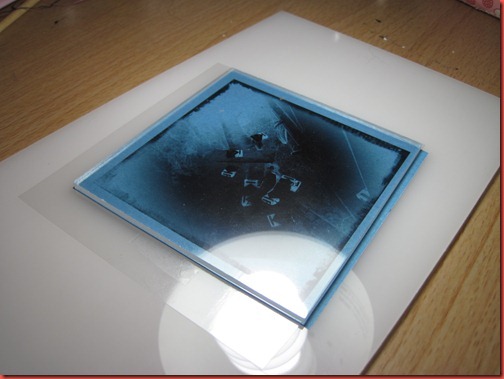
Flat surface, cyanotype paper (blue side up), negative, plexiglass.


Expose to your light source. With the CFL bulb, it was between 15-30 min. The nice thing about these is as they expose, the white parts of the negative turn white on the paper. When your exposure is done, you will have a negative image on your paper.


IMG_6924


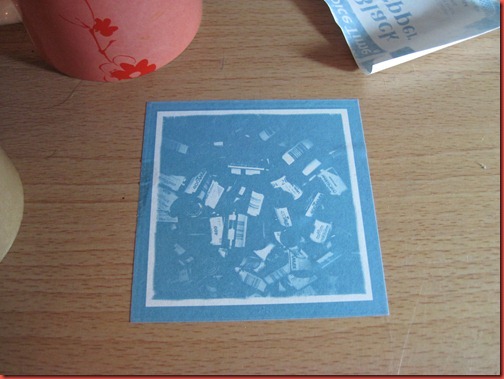
Wash it under normal tap water, and a positive print will magically appear. Lay it flat to dry.


IMG_6925


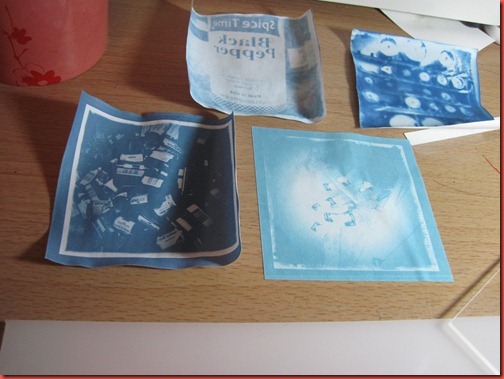
As each print dries, the blue color will darken.


IMG_6927


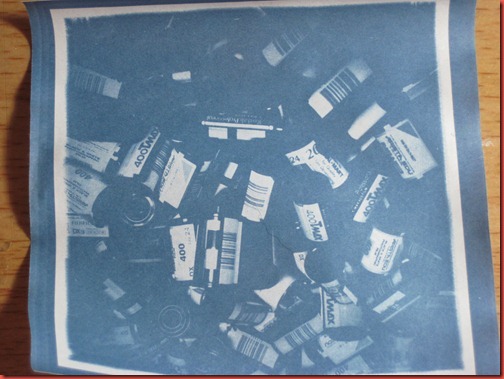
All done. Now I’ve converted an Instragram style cell phone pic to an age old analog print. Plus, it’s a picture of film which just sweetens the whole thing for me.


IMG_6930


That was simple, and addictive. I’m out of transparency paper or I’d still be making prints.


Kelly

Sunday, April 24, 2011

Instant Analog

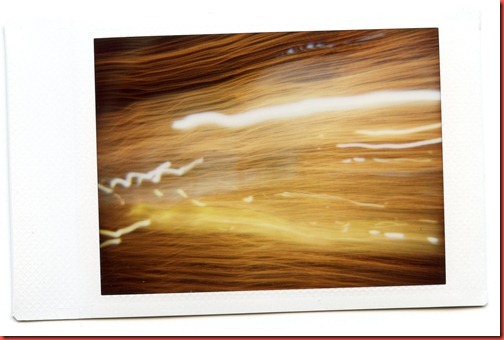
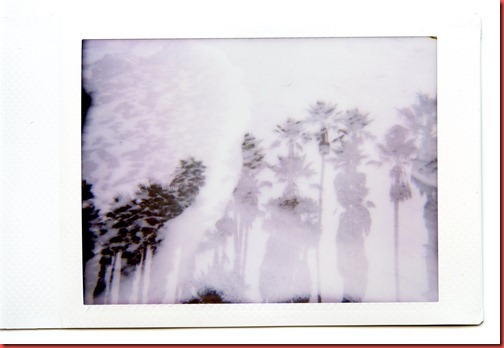
There are some tough techniques to pull of well in analog photography. Long exposures, double exposures, double flashes with gels. You can sometimes test these with a digital camera, but to be 100% honest, your Holga or Diana will never act like your DSLR. They are super unpredictable and weird. My trick for taking less shots and getting the outcome I want? I test with my Diana’s instant film back.


Long exposure:


img095


Double exposure:


img097


Instant results. So, each pack has 10 frames of instant film. Sometimes I just like to take neat little photos. But sometimes, I use it to test an idea before I put in 120 film. For example:


Instant film test image:


img111


Film printed image from negative:


img013 clean


It’s my analog answer to instant gratification.


For more info on the Diana Instant Back, check out an older post here.


Kelly

Wednesday, April 20, 2011

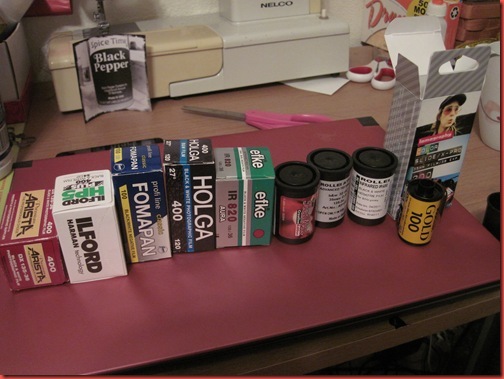
Choosing Film

Buying film can be intimidating if you’re not familiar with the process.  C-41, black and white, C-41 black and white, infrared, 35mm or 120…

Whatever your film needs, the first step is to buy from Freestyle Photo.  They are trying to support analog photography and will continue to make film products until they go broke!  Support Freestyle who supports keeping film alive!

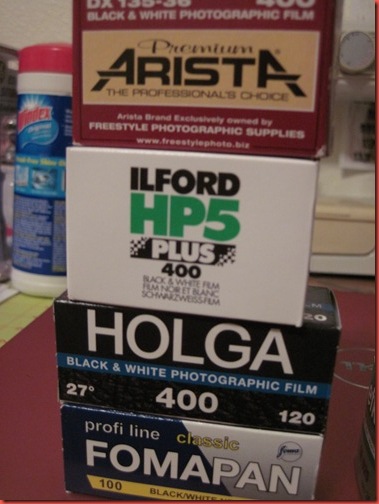
IMG_6932

Whether you buy 120 or 35 will depend on your camera - that should be pretty straight forward.  Picking a film processing type will be a different thing.

Black and white professional films (I heart Kodak Tri-X, which isn’t shown here because I shot all of it) need to either be processed by hand using black and white developing chemicals or taken to/sent to a lab that has the chemicals.  In Siskiyou County, you have a couple places in Medford, Crown Camera in Redding or you can send away to Photoworks in SF, who doesn’t charge very much to process film.

Black and white film also varies in price, just like black and white darkroom paper.  It has to do with the amount of silver in it.  Images are created using silver halide, and since silver is spendy, more silver = better film = more money.

On a totally unrelated note, this is why I love Ilford Warmtone paper even though it’s more than a dollar a sheet.

IMG_6935

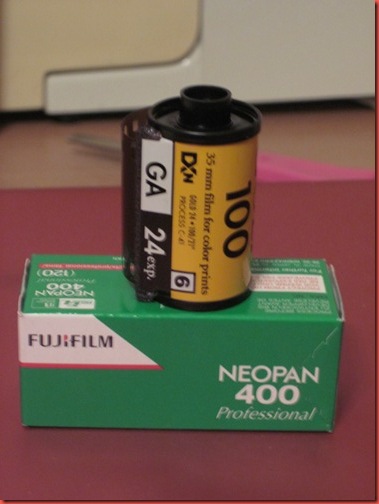
Next, we have C41 process film.  This is basic color film processing.  They happen to make black and white film that can be processed in C41 chemicals, but most of the prints will have a tint and you can’t hand print from them in a black and white darkroom.  C41 processing is simple.  Drop it off at Rite Aid, Crown Camera or (if you have time) send it away to Photoworks.  Rite Aid sometimes abuses my film, so a professional lab is preferable.

IMG_6938

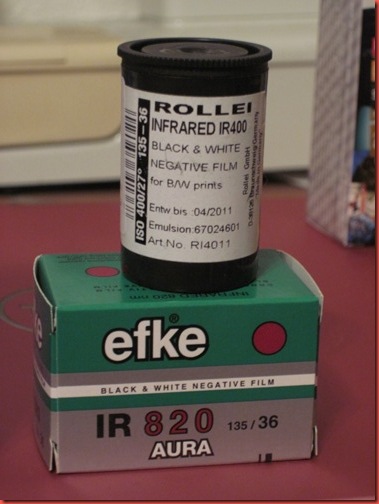
Infrared film works just like black and white film, only you pre-soak it in water.  Oh, and it records a totally different spectrum of light, has to be loaded and unloaded in total darkness and requires an R72 filter to get those neat IR effects.

IMG_6936

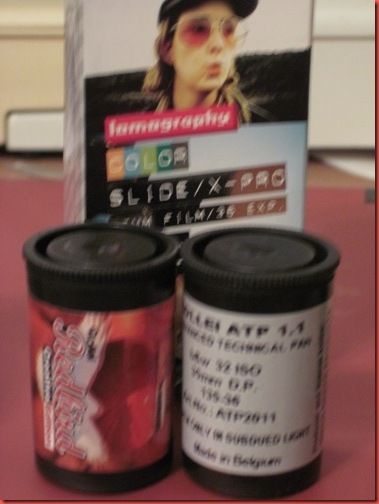
Weird film is weird.  So weird, I couldn’t get a clear shot of it.  Rollei, Holga and Lomography make some great stuff.  Just follow the directions.

IMG_6937

Finally, if you’re not cross processing, slide film is processed in E6 chemicals and gives you a positive slide (instead of a negative).  This is one to send to Photoworks as well.

That’s about it.  Finding a film you love has a lot to do with personal taste.  I like Tri-X because I like grain, but it’s not for everyone.  The reason I have all these film types is because I intend to shoot all of them and compare and understand them all.  Look for more on that in… a long time… there’s a lot of film there!

Sunday, April 17, 2011

Why Printing is Greater Than Scanning

I have a film scanner.  It’s high tech and fancy.  It digitizes my film, but we’re still at a point in technology where I don’t think anything replicates film the way I’d like it to… yet.

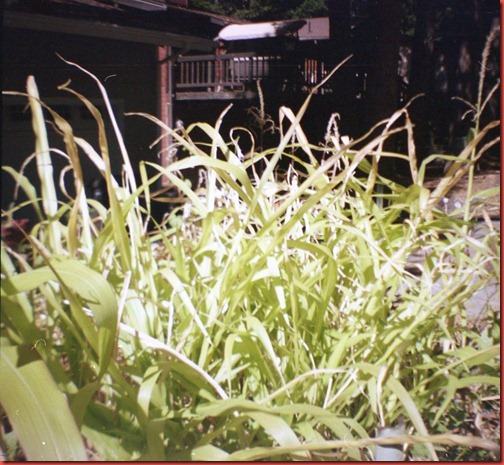
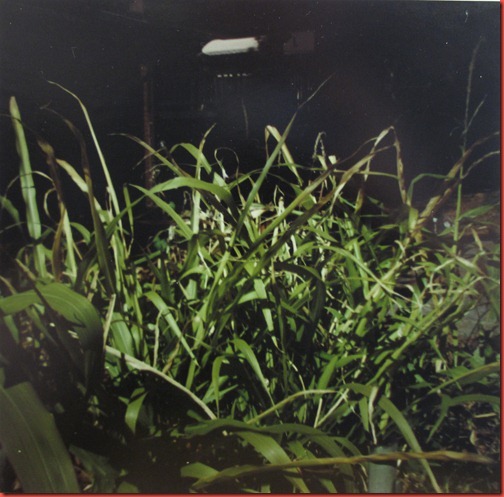
Just for comparison, here is the same photo,

Scanned as film:

img061

Printed by Hand and Photographed:

The saturation, details and vignetting I could pull out in the print lab, my lovely scanner knows not these things.  If you ignore the artifacts from the picture of the print (foggy in the black area up top), it’s just a better rendering of a picture.  Nailed the contrast, added the tone I wanted to the greens.

Yay for hand printing.

Kelly