Thursday, February 24, 2011

Using Color Print Filters for Digital Editing

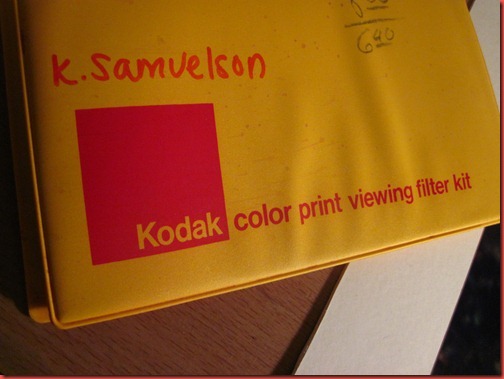
In my years of shooting film, I’ve stumbled across some great gadgets built for film photography that can be used in digital photography.  My color correction filter pack is one of them.

IMG_6630IMG_6632

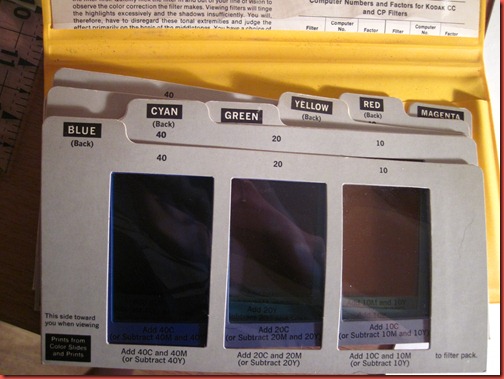
They come in a whole pack with both CMY and RGB filters, each with their own gradient.  The purpose of these was originally to help with color correction in a darkroom (color darkroom printing post coming soon, so you’ll see what I mean).

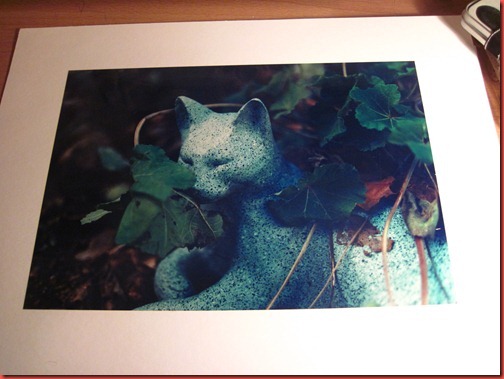
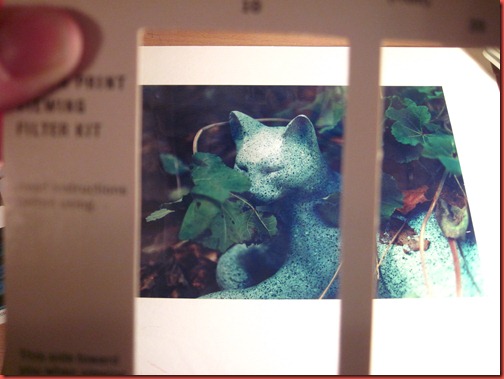
Example, here’s a color print I hand processed in my color darkroom.  I love it, and if you follow my color film photography you know I often add a color cast to photos.  In this case, I added a hint of blue.

IMG_6631

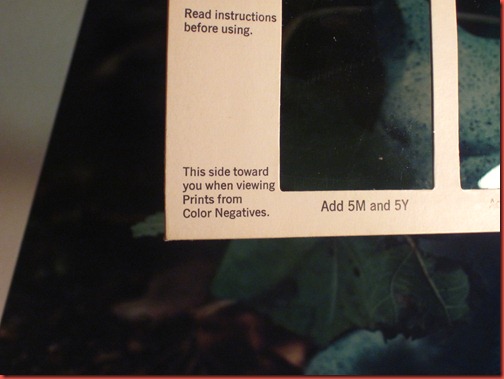
These are simple enough to use.  Pick the color that is opposite to the color you think you’ve made a mistake with (so for blue cast, I’d grab yellow).  Look through the various viewing windows until the colors look right to you, then read the box below to see how to correct this in a darkroom enlarger.

IMG_6633

Here’s when we view the photo through a yellow filter.  The blue cast is corrected.

IMG_6634

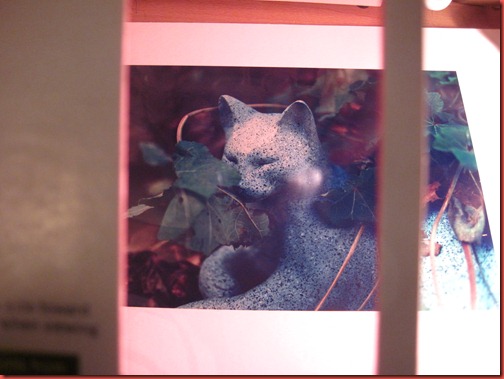
Here’s when we look through a magenta filter.  It’s pretty easy to tell that we don’t need any additional magenta in this photo. 

IMG_6635

So, that’s pretty much it for film.  Just keep looking through squares until it looks right, make the suggested adjustments and run your next print through. 

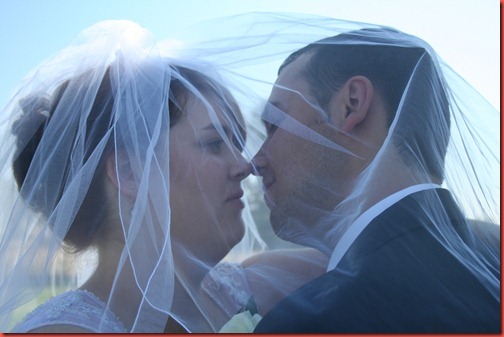
Now, how can we apply this to digital?  Here’s a SOOC shot I took at a wedding.  It has a cyan/blue cast that I don’t like.  Let’s use the filters and see what could work better.

IMG_8663 (1)

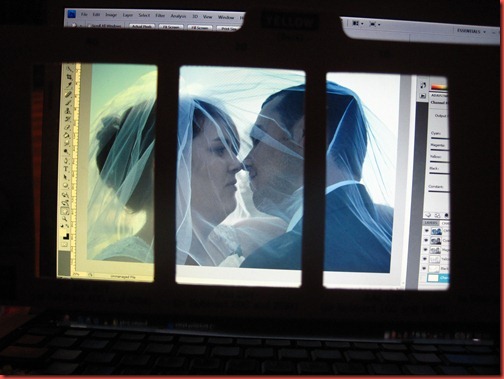
I held the yellow filter card up to the screen and we can see that the middle filter is the closest to correcting the color.  The left is too yellow, and the right is too blue.

IMG_6638

So, how is this more useful that just using Photoshop tools?  Sometimes it’s not.  The white balance auto-correct in camera raw works well a lot of the time, and you can eye your colors using a lot of the color correction tools built in.  Why this is handy is because camera raw doesn’t always get a perfect white balance.  Also, this gives you a starting guide with color correction without having to wait for actions to process or having to use the history button.

The only drawback I’ve found is that color correction units (which the cards use) don’t currently translate to Photoshop CS4.  While doing a quick Google search, I found there are plug-ins you can get which will translate color correction units to Photoshop.  In the meantime, I think this at least provides us with a shortcut and an idea of where we’re going.

Happy editing!

Kelly

Friday, February 18, 2011

Want to master your exposure?

Here's a touch of reality for people who are just learning photography. I apologize if I sound strict, but give it some consideration and don't be discouraged. I've written a great beginner photography guide and I'm available to answer questions via email or in the comments section of any post.

The digital age has many advantages, but also a lot of technology that makes for lazy photographers. I hear so, so often how someone would prefer to do something because it’s easier or faster. How can you expect to master any art by doing what is easiest and fastest? You can’t.

img017

One reason I’m handy with a TTL light meter and can nail exposure and focus most of the time is because I started shooting film on old manual cameras. I don’t like digging out photos in Photoshop, I’d rather be outside with a camera than inside with the computer!

Imagine this for a minute, put your camera in Manual mode, turn off the auto focus and the LCD screen. Oh, and also, put in a really small memory card and shoot in raw so you only have about 30 shots. All of a sudden, you’re really thinking for every shot. You’re looking at the light meter, you’re double checking your focus, you’re being careful with composition.

img013

In film, you’re limited to the number of exposures on a strip of film. Want to shoot 35mm? You have 24-36 shots. Switch to medium format, and you’re stuck with 12-15 shots. Get any larger than that and you could have only 1 or 2 frames to shoot. Oh, and did I mention that a roll of film costs upwards of $4-5 for those 12 shots. Or that sheet film is up to $1 a shot? I bet you’re not firing off anything without some thought at $1 a shot.

Now, stop imagining and actual try some of this. Grab a film camera. Change all those settings on your DSLR and forget the delete button exists.

Pushing yourself to get the right shot on the first try will make you a more efficient, intuitive and eventually, successful photographer.

To purchase film, I recommend Freestyle Photo. Film is a dying art, and Freestyle is dedicated to keeping it in production - often creating product lines to replace discontinued lines from Kodak or Polaroid. Please support them!

Kelly

Tuesday, February 8, 2011

Feel Like Dissecting a Holga?

Me too.  So I did.  Then I tinkered.  Then I spent a half hour trying to fix what my tinkering damaged…

Some details:

Remember when I told you Holga really only had one aperture, around f13.  Well, I made my Holga have 2 apertures.  Around f7 and f12.

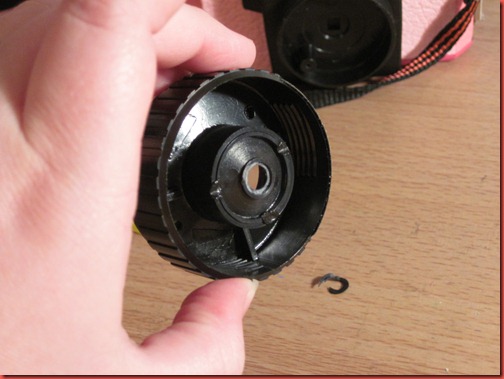
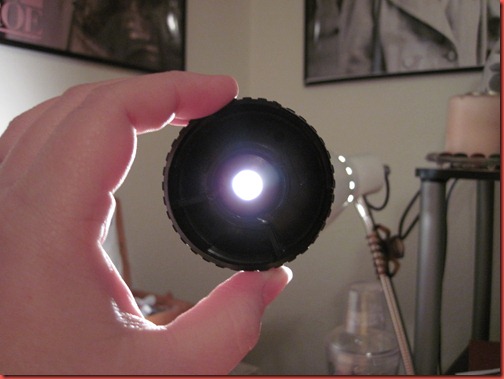
Step 1: Remove the lens.  Use that great tutorial I posted here a while back.  See that black ring on the desk, I popped it off the lens with a pen.  It was giving me a small aperture, so we took it off.

IMG_6254

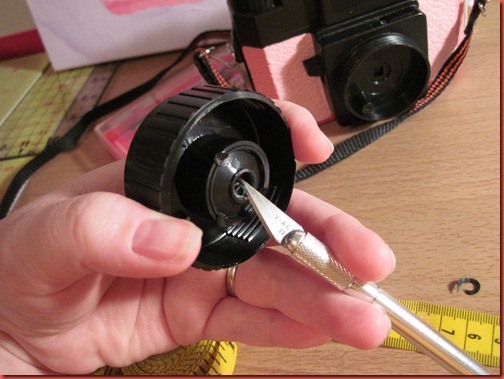
I went one step further and shaved some of the plastic down.  Don’t take it too far!  See that square in the shutter assembly in the back on the camera?  Don’t make your aperture any bigger than that.

IMG_6255

Oooh, lots of light now.

IMG_6258

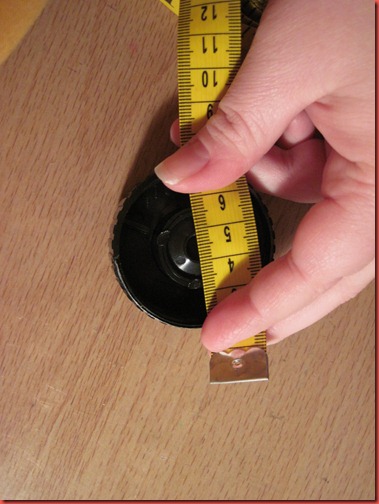
Measure it.  Divide the focal length (60mm for Holga) by the diameter of the circle.  That’s how you find your f-stop.  Write it on the camera with a sharpie once you know it, it’s handy.

IMG_6259

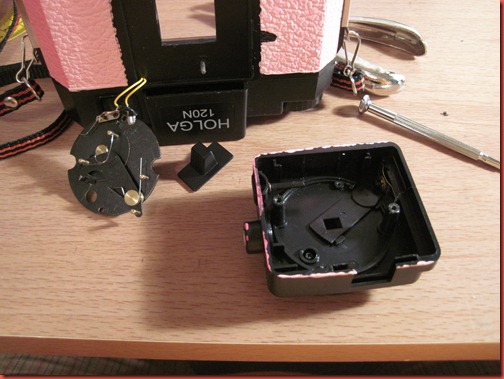
Next, I decided that I wanted 2 f-stops.  So I took the thing apart.  So, in a nutshell – here’s why Holga only has one aperture.  It’s because the swing arm that comes over the shutter when you set it to sunny is just a big square hole that is bigger than your existing aperture.  It’s not blocking any more light.  So, all we need to do is attach something that is smaller than the aperture on the lens.

My solution was to glue on the ring I just took off the lens in step 1.

IMG_6261

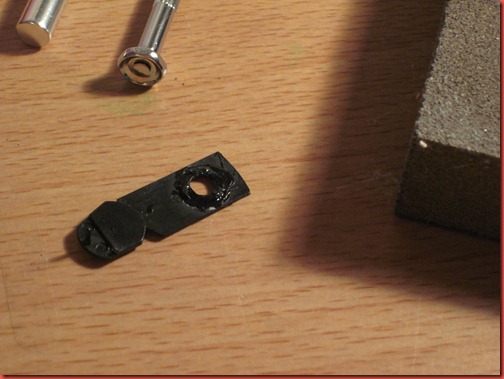
So, take that aperture swing bar out, and glue on your new aperture ring.  I painted around the corners with black nail polish to cut down on light leaks.  Then I sanded the thing to make it fairly flat.

IMG_6263

Put the camera back together.

Tips:

If you don’t mutilate the ring when you remove it in step 1, it’s far easier to put back on.

Try to get the new aperture as flat as possible.  It wasn’t meant to take up more room in the shutter mechanism and it will stick sometimes.

Another way to avoid sticking is to not screw the shutter assembly together quite as tight.  Having a little slack lets the arm swing freely.

If you’ve set up your lens so it screws on and off, you should be able to free a stuck arm by removing the lens and pushing the arm with a pen.

Be really diligent about keeping those yellow wires attached unless you don’t care if your hot shoe works.  I taped my wires in and still had to re-do it 12 times.

Good luck!

Shasta Betty