Monday, October 17, 2011

Edit Out Breast Cancer

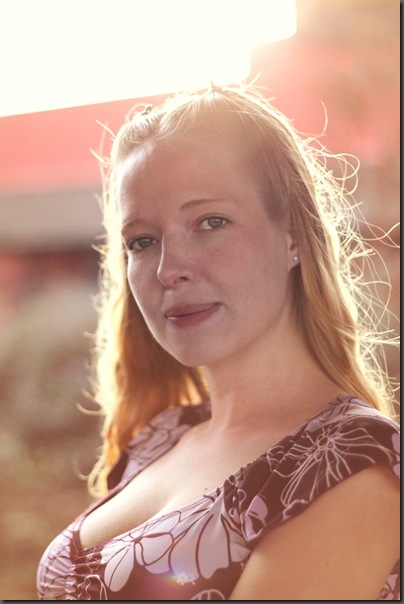
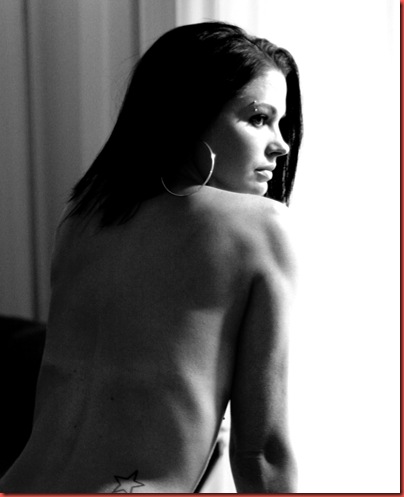
Welcome to the first installment of Edit out Breast Cancer.  This week’s photo was submitted by Heidi.  She can view, download and use the web sized photo free, or contribute $25 to Passionately Pink for the Cure to get the full resolution file.

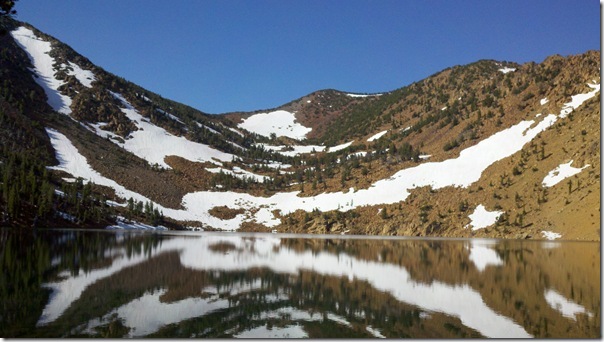
Original Photo:

2011-07-27_09-04-18_211

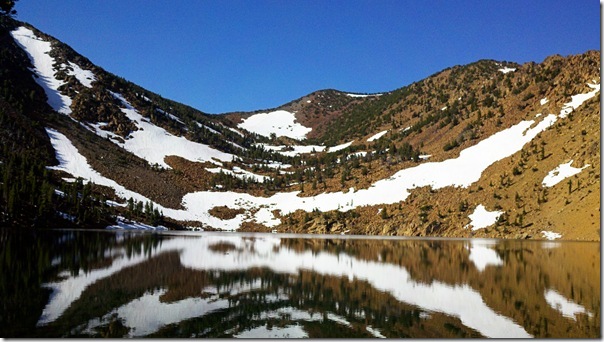
Boosted colors, sharpness:

2011-07-27_09-04-18_211 edit 1

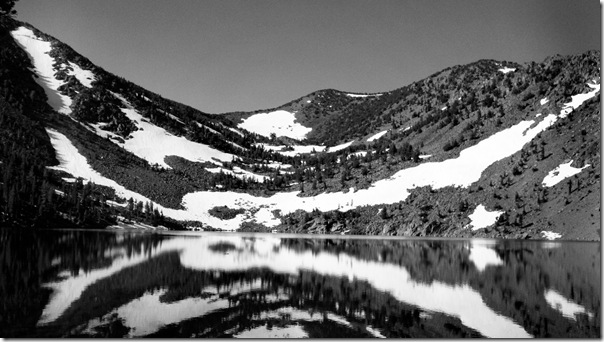
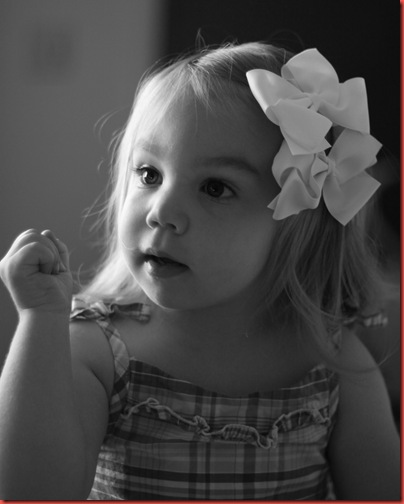
A moody black and white.  Burned down the right side and lightened up the left side to provide even tones.

2011-07-27_09-04-18_211 edit 2

So, there you have it.  Please email your sharp, well exposed photos to authenticallybeautifulphotography@hotmail.com

Kelly

Monday, September 19, 2011

Edit Out Breast Cancer

If you follow my work, you may have noticed that breast cancer is my cause of choice.  I have a sister, mother, and a large group of close girl friends I love so much.  I want to find a cure before breast cancer effects any more of the women in my life or the lives of others.

I’ve been donating 5% of proceeds from photo shoots to breast cancer through Passionately Pink for the Cure.  I also have organized a number of fundraisers.  In addition to running another event this upcoming October and a special photo fundraiser for Passionately Pink (more on that soon!), I’m going to start a regular feature here and on my photography business's blog where I will edit viewer photos to raise awareness and funds for Passionately Pink for the Cure.

Here’s how it works - send your sharp, high resolution photos to authenticallybeautifulphotography@hotmail.com.  I will edit them (for FREE), then post a 500px wide copy on this blog. 

I will retouch the photo using all the fun tools and actions available to me in Photoshop and post the before and after shots.

If you sent the photo in, you will be free to download the blog sized file and use it online to your content.  If you love the photo, I will sell the high-resolution version of the file for $25, all of which I will donate to Passionately Pink for the Cure.  The high res file is great for websites and printing spectacular photos to display in your home.

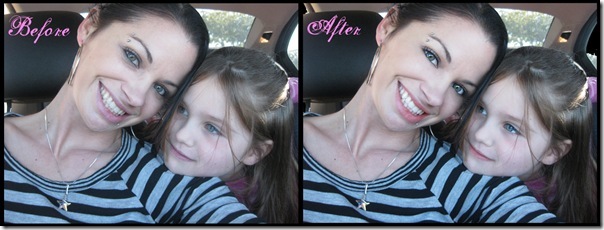
Here’s an example of a fan photo sent in by Melanie that I retouched recently.

231 composite

Now she has an amazing photo of her and her daughter to print and display in her home.

To participate, send your photos to authenticallybeautifulphotography@hotmail.com.  I’ll be posting a new edit every Monday for your viewing and fundraising pleasure.

Thanks,

Kelly

Friday, September 9, 2011

Backlighting - Photo Challenge and a Peek at Post-Processing

Over at Rock the Shot (www.rocktheshotforum.com), they’re having their September Photo Challenge - Backlighting.  One of the sponsors is also Oh So Posh Photography who makes amazing actions.  So, I thought I’d share a photo I processed using Moonlight from the Bohemian Symphony Collection by Oh So Posh.
IMG_0187

This was from a maternity shoot I shot a long time ago.  The light coming into this covered bridge was so pretty and the way it backlit her hair looked so angelic.
I didn’t do a whole lot to this in Photoshop.  As always, I do some clone stamping to smooth skin imperfections and sharpened the eyes just slightly so they would pop against the haziness of the photo.  I used a little dodging on this one to lighten her face.  Finally, I ran moonlight from the Bohemian Symphony collection to warm up the photo a little.
I love how hazy, glowy and warm she looks in the final photo.  What do you think?
Kelly
Rock the Shot

Tuesday, September 6, 2011

More Night Photography

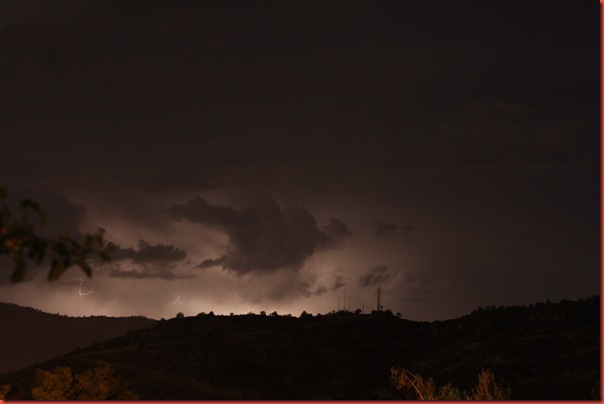
There are so many interesting things to photograph at night.  Stars, lightening, and a multitude of interesting things that can be seen during the day, but have an entirely different look at night.  Here are a series of shots I took in the backyard the other night during a lightening storm, along with the how to and some exposure guides.
_MG_2295
First things first, I took nearly all the landscape shots at ISO 400, F4.5 for 30 seconds.  The timing worked well with both the city lights and the lightening strikes (which were far away).  Some shots are brighter than others because there were more strikes, some are darker.  Lightening has changing lighting conditions, so it’s hit or miss.
You can take 2 approaches to this.  Shoot on bulb and leave the shutter open until the lightening strikes, then close it again - OR - expose for the ambient light and take enough shots to get a few well lit stormy scenes.  I used the second technique.  If your sky-scape will be entirely filled with lightening (example, you’re closer to the storm or have a really cool telephoto lens), I suggest the first technique.
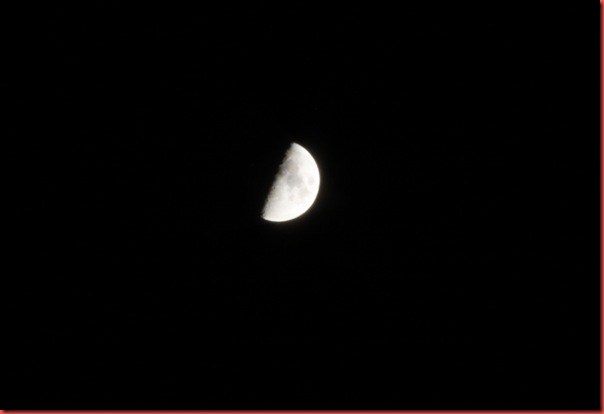
_MG_2304
The moon was a different story.  Still at ISO 400, but at f36 for 1/2 second.  The moon is very bright, so to catch details and not a large starburst-flare-light blur, use a small aperture and shorter exposure.
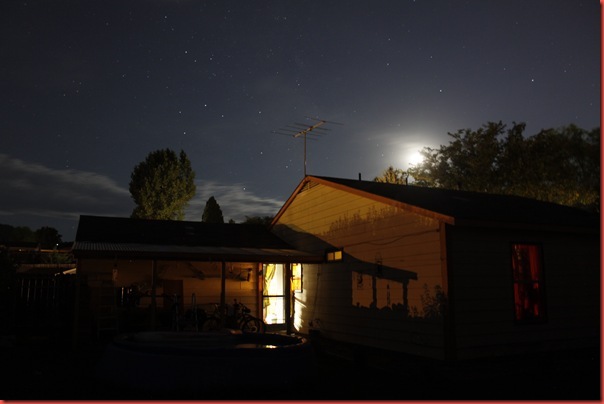
_MG_2315
However, if you want to blur out the moon and take night shots that simulate daylight, open the aperture back up and go back to a longer exposure.  ISO 400, f3.5 for 30 seconds.  The shadows and window light have an interesting almost creepy effect.  You could take this shot in the day, but it wouldn’t be half as fun.
_MG_2325
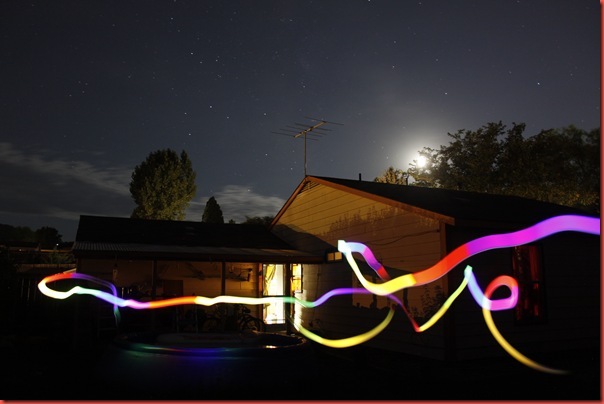
This last strange shot is of me walking around with my cell phone using a flashing lights app on my droid.  Walk around for 30 seconds with any light to get this cool trail effect in long exposures.
_MG_2326
So, that’s about it.  Grab a tripod and a cable release for your DSLR and experiment.  There are so many neat things lurking in the dark for you.
Kelly

Monday, May 30, 2011

Product Photography for Artists

If you missed my SAC Business of Art Class, or even better - if you were in the class and were looking for more information, I’m uploading a copy of the PowerPoint from the class for your reference.
Also, please check out the “Photography Basics” tag for more tutorials.
View PDF file here:
http://www.klsphotography.com/files/11227/productphotography.pdf
-Kelly

Thursday, May 5, 2011

Is that a camera?

Is it digital? Is that made by Fisher Price?  Wait, it shoots film?

Or my personal favorite…

What are you doing?

_MG_9884

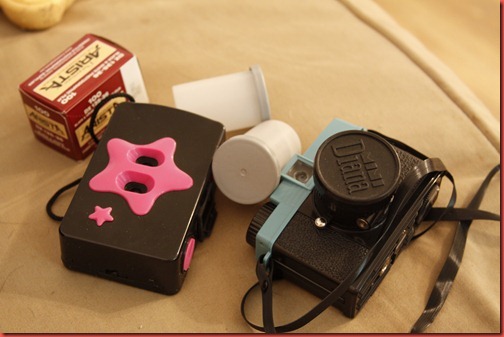
There is something special and fun about shooting toy cameras.  First, nobody gets them.  And the people who do, LOVE IT.  I’ve been working on a toy camera exclusive project and I’ve heard so many “OMG, is that a Diana?  Can I hold it.  I have to get one of these!”  IMG_2399

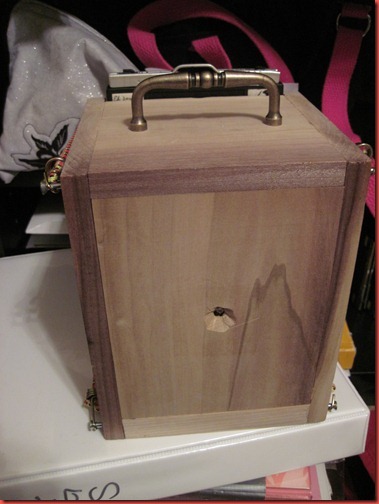
Or, there are the people who are around when I’m taking a pinhole photo that are generally confused (and a little nosy) and want to know what you’re doing – only to be confused further when you say, “I’m taking a picture.  That’s a camera.”  I know what they’re thinking… “that box/paint can/lifesavers tin/insert random object is a camera?  Okay, I’m just going to walk away slow.”

IMG_2412

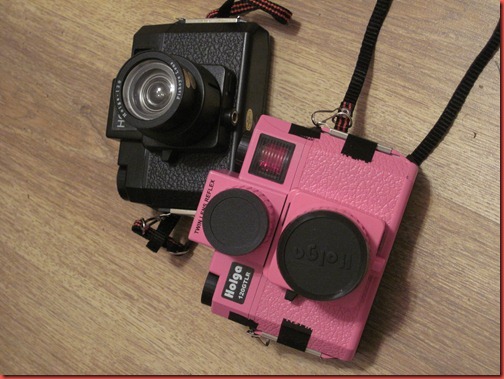
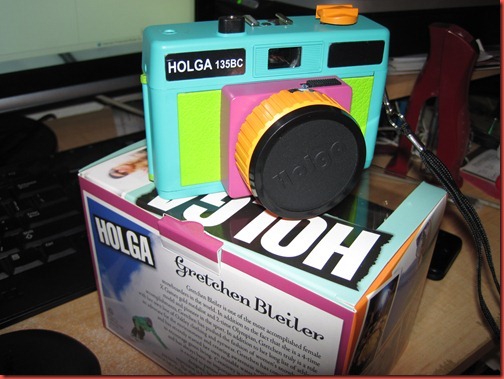
But my best advice is to take it all in stride.  Or educate people.  I found a lot of people were fairly astonished to know that I spent $70 on a multi-colored Holga.  “But, why, isn’t it just plastic?”  Well, yeah, but it’s the most amazing plastic I can possibly get my hands on.

IMG_7097

I love it.  If you see me on the street with a toy camera, feel free to ask “Is that a camera?”  I’ll tell you all about it!

Kelly

Tuesday, April 26, 2011

Cyanotypes

Cyanotypes are an interesting, very very old photographic process. They’re super accessible for people who don’t have a darkroom. All you need is a UV light source (PS, the sun counts), a negative and water.


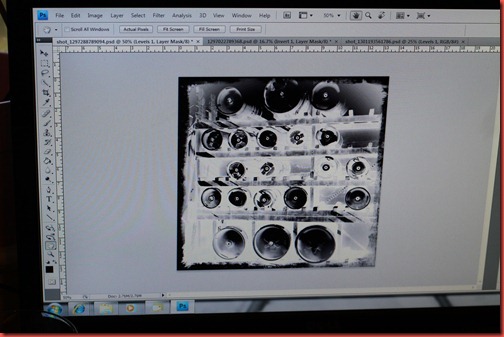
Step one, take a nifty looking photo with fairly high contrast and convert it to black and white in a photo editing program. Then invert the image to create a negative. Or you could use a real negative. Or you could do a Rayogram, which I’ll save for another time.


IMG_9300


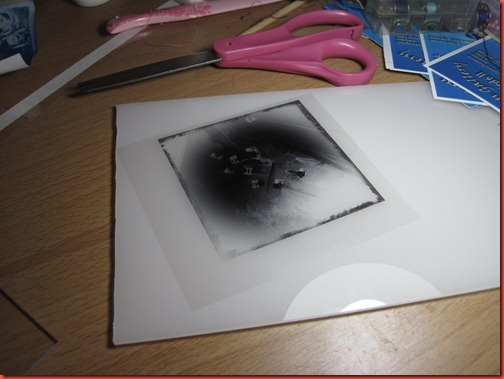
Print it out. Normal printer paper works fine. Printable overhead transparency paper works better. Cut out your negative.


IMG_6920


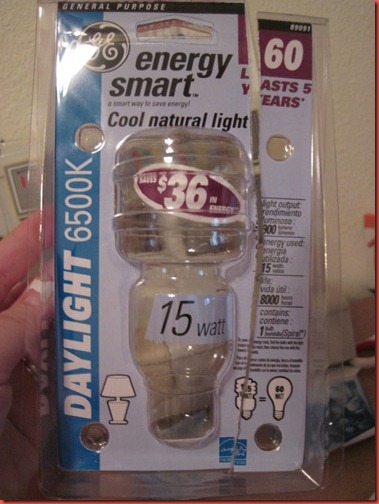
Obtain a light source. The sun is a great one, but when it’s cloudy (or night) or rainy, sometimes it’s nice to move the process inside. I found out that CFL light bulbs leak UV light (in safe amounts, according to various websites). The less coated or covered the bulb, the better. I went with the raw spiral kind (packaging shown below).


IMG_6921


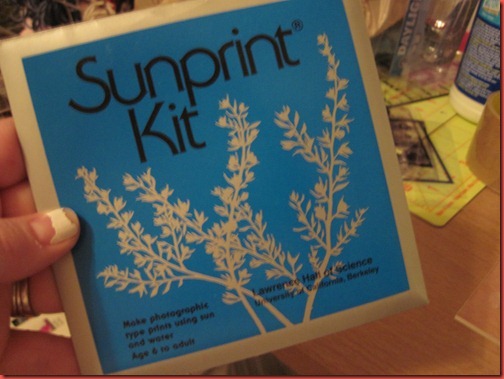
Finally, obtain some cyanotype sensitized material. You can go the easy route and by a Sunprint Kit like I did. They come in 4” and 12” size squares and include a piece of plexiglass.


IMG_6922


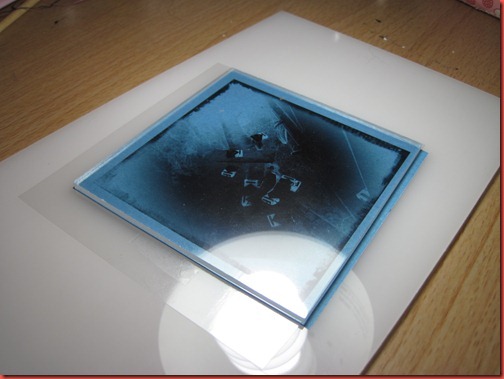
While you are not under a UV light source, take a piece of paper out and layer as follows:


Flat surface, cyanotype paper (blue side up), negative, plexiglass.


Expose to your light source. With the CFL bulb, it was between 15-30 min. The nice thing about these is as they expose, the white parts of the negative turn white on the paper. When your exposure is done, you will have a negative image on your paper.


IMG_6924


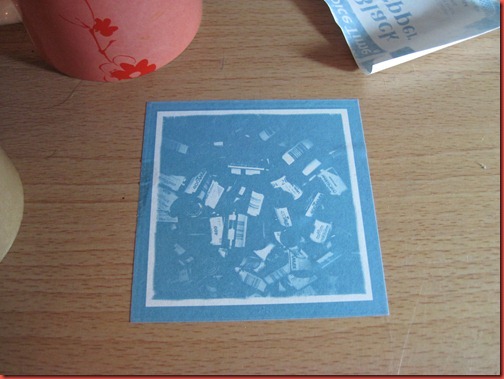
Wash it under normal tap water, and a positive print will magically appear. Lay it flat to dry.


IMG_6925


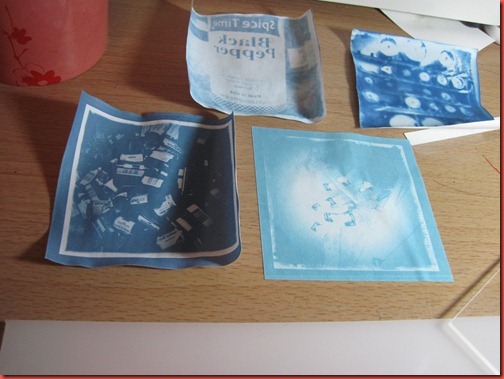
As each print dries, the blue color will darken.


IMG_6927


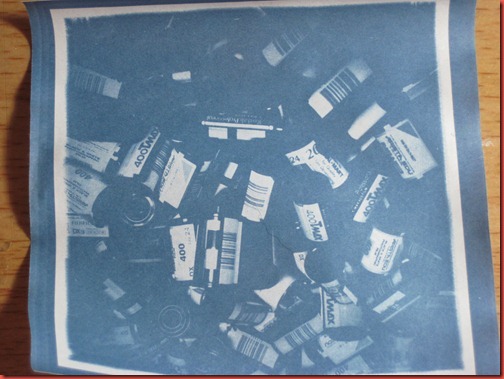
All done. Now I’ve converted an Instragram style cell phone pic to an age old analog print. Plus, it’s a picture of film which just sweetens the whole thing for me.


IMG_6930


That was simple, and addictive. I’m out of transparency paper or I’d still be making prints.


Kelly

Sunday, April 24, 2011

Instant Analog

There are some tough techniques to pull of well in analog photography. Long exposures, double exposures, double flashes with gels. You can sometimes test these with a digital camera, but to be 100% honest, your Holga or Diana will never act like your DSLR. They are super unpredictable and weird. My trick for taking less shots and getting the outcome I want? I test with my Diana’s instant film back.


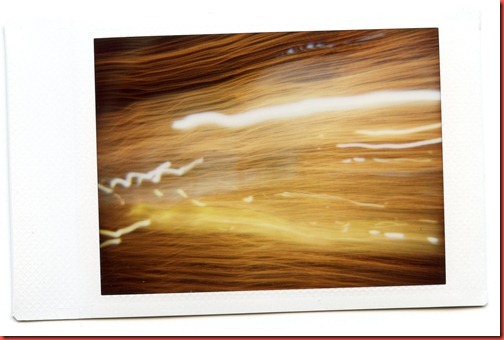
Long exposure:


img095


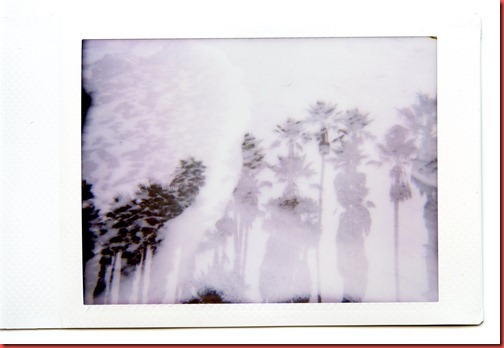
Double exposure:


img097


Instant results. So, each pack has 10 frames of instant film. Sometimes I just like to take neat little photos. But sometimes, I use it to test an idea before I put in 120 film. For example:


Instant film test image:


img111


Film printed image from negative:


img013 clean


It’s my analog answer to instant gratification.


For more info on the Diana Instant Back, check out an older post here.


Kelly

Wednesday, April 20, 2011

Choosing Film

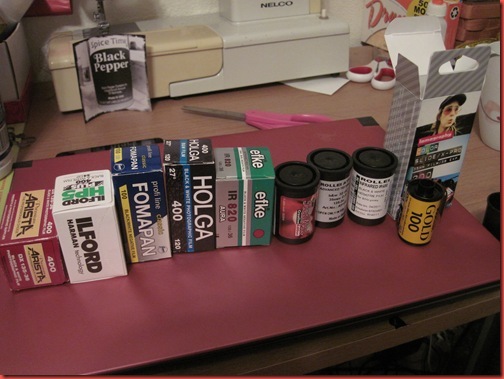
Buying film can be intimidating if you’re not familiar with the process.  C-41, black and white, C-41 black and white, infrared, 35mm or 120…

Whatever your film needs, the first step is to buy from Freestyle Photo.  They are trying to support analog photography and will continue to make film products until they go broke!  Support Freestyle who supports keeping film alive!

IMG_6932

Whether you buy 120 or 35 will depend on your camera - that should be pretty straight forward.  Picking a film processing type will be a different thing.

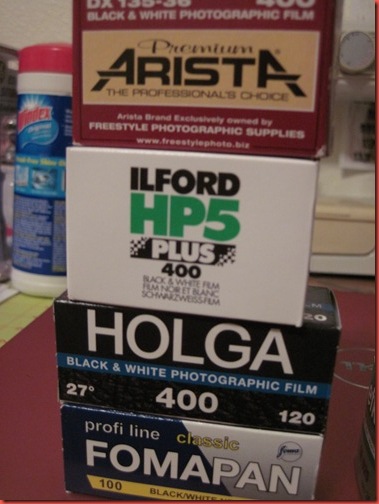
Black and white professional films (I heart Kodak Tri-X, which isn’t shown here because I shot all of it) need to either be processed by hand using black and white developing chemicals or taken to/sent to a lab that has the chemicals.  In Siskiyou County, you have a couple places in Medford, Crown Camera in Redding or you can send away to Photoworks in SF, who doesn’t charge very much to process film.

Black and white film also varies in price, just like black and white darkroom paper.  It has to do with the amount of silver in it.  Images are created using silver halide, and since silver is spendy, more silver = better film = more money.

On a totally unrelated note, this is why I love Ilford Warmtone paper even though it’s more than a dollar a sheet.

IMG_6935

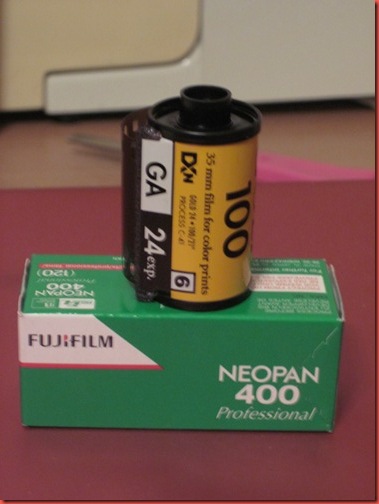
Next, we have C41 process film.  This is basic color film processing.  They happen to make black and white film that can be processed in C41 chemicals, but most of the prints will have a tint and you can’t hand print from them in a black and white darkroom.  C41 processing is simple.  Drop it off at Rite Aid, Crown Camera or (if you have time) send it away to Photoworks.  Rite Aid sometimes abuses my film, so a professional lab is preferable.

IMG_6938

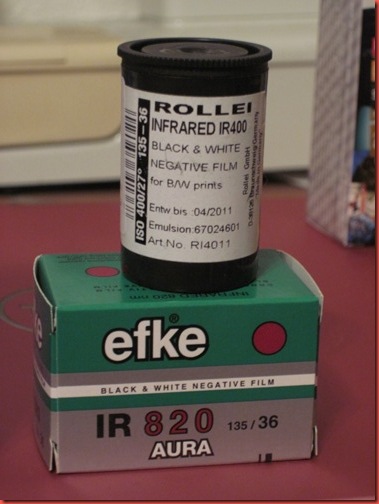
Infrared film works just like black and white film, only you pre-soak it in water.  Oh, and it records a totally different spectrum of light, has to be loaded and unloaded in total darkness and requires an R72 filter to get those neat IR effects.

IMG_6936

Weird film is weird.  So weird, I couldn’t get a clear shot of it.  Rollei, Holga and Lomography make some great stuff.  Just follow the directions.

IMG_6937

Finally, if you’re not cross processing, slide film is processed in E6 chemicals and gives you a positive slide (instead of a negative).  This is one to send to Photoworks as well.

That’s about it.  Finding a film you love has a lot to do with personal taste.  I like Tri-X because I like grain, but it’s not for everyone.  The reason I have all these film types is because I intend to shoot all of them and compare and understand them all.  Look for more on that in… a long time… there’s a lot of film there!

Sunday, April 17, 2011

Why Printing is Greater Than Scanning

I have a film scanner.  It’s high tech and fancy.  It digitizes my film, but we’re still at a point in technology where I don’t think anything replicates film the way I’d like it to… yet.

Just for comparison, here is the same photo,

Scanned as film:

img061

Printed by Hand and Photographed:

The saturation, details and vignetting I could pull out in the print lab, my lovely scanner knows not these things.  If you ignore the artifacts from the picture of the print (foggy in the black area up top), it’s just a better rendering of a picture.  Nailed the contrast, added the tone I wanted to the greens.

Yay for hand printing.

Kelly

Sunday, March 27, 2011

Cross Processing

Everyone with an iphone or a Droid with a funky camera phone app has probably heard of Cross Processing (aka X-Pro) and knows the photos come out greenish/yellowish/bluish depending on the app.  But did you know there is a whole film developing process behind cross processing that created the inspiration behind the apps?

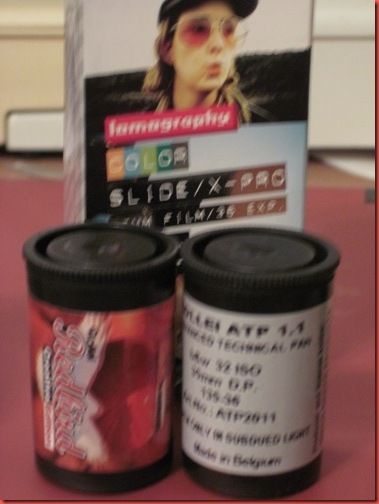
Cross Processing is when you take color slide film (usually a positive film that is developed in E6 chemicals) and develop it in color negative developers (your normal negative film is developed in C41 chemicals) or visa versa.  I recently bought slide film with this specific intention.

First, I want to point out that whatever chemicals you use to develop will dictate whether the film comes back as negatives or positives.

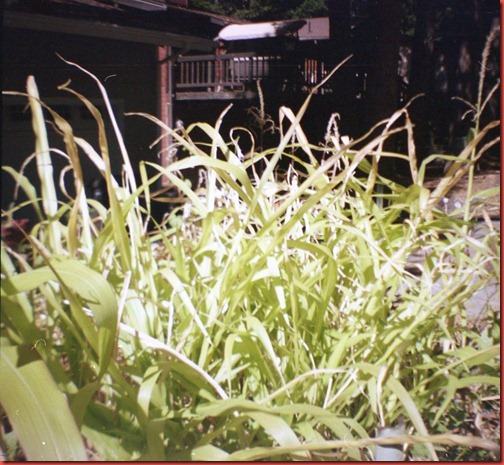
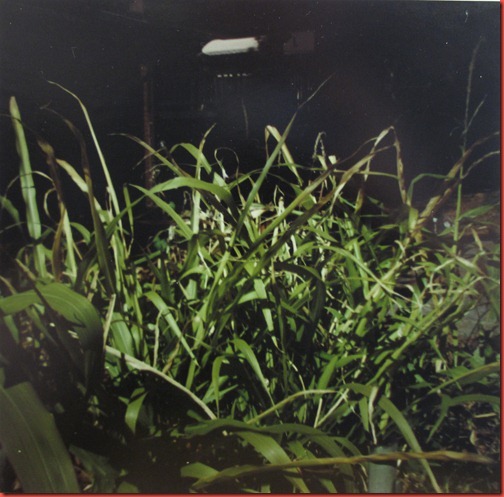
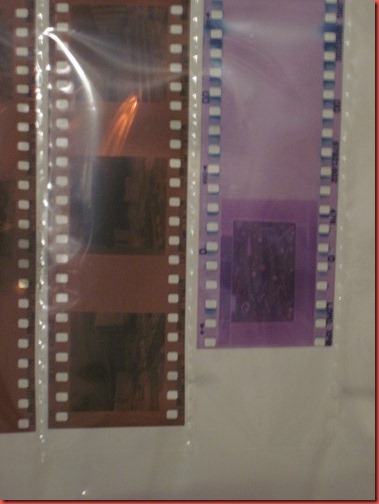
Second, the X-pro slide film comes back a weird color.  I knew even before I got this in the darkroom that things were going to be interesting…  Left, normal negative.  Right, X-pro slide film.

IMG_6727 

I processed these by adding a lot of yellow to the color filter pack (which removes yellow from the print), but you can see how green these are.

Just for comparison, I took a “cross processed” photo with the Vignette app on my phone.

1300827836161

Hmmm… well, that’s neat.  It’s missing the grain and texture of the film.  But I still don’t think digital is anywhere close to being on the same level as film as far as printing and effects.  I love the cell phone apps, and they’re plenty cute, but if you like the look I highly suggest shooting a roll of film and having it cross processed at your local photo lab.  There is nothing like it.

Kelly

Wednesday, March 16, 2011

Something to play with

So, this is entirely random and experimental, but I think there is somewhere interesting to go with this.  I like to play with slow sync flash, it has interesting results - especially with motion or crazy background lights.  I’m still planning on writing a whole tutorial about this, first curtain, second curtain, etc.  For now, here’s an odd result I found and wasn’t expecting from slow sync flash…

I really want to write about exactly why I think this happened, but this isn’t that kind of post.  This is about asking YOU to help me figure out the effect and use some of the theories to play with this effect.  I think what makes an effect efficient is when you can replicate it, so it’s time to figure out the mechanism behind this happy accident!

Note:  All of these are SOOC, straight out of camera, no editing, nothing.

Okay, manual settings… all of these shots are f14, 1/2, ISO 800, on camera flash, tungsten lighting, auto WB (which I’m now wishing I had been specific about).

Shot 1.  I held really still.  This is a fairly typical slow sync flash shot.  Just putting it up for comparison.

IMG_9157

Shot 2 and 3, after the flash fired, I violently shook and swirled the camera all over the place for the remainder of the exposure.  The backdrops for both shots were mostly blank walls, minimal tungsten lighting from behind me.

IMG_9155IMG_9161

So, everything came out a little vintage looking.  Faded colors, yellowish tone.

Theories:

- The faded colors are because of the transparency of having the extra exposure.
- The clearness of the effect was because the background was fairly blank (white walls).
- The yellow tone is because of the blending light temperatures in the Auto WB (it could have been reading for only the flash)
- The short exposure only allowed in a small amount of weirdness…
- My camera was jealous of my using the Retro Camera app for most of my 365 project lately and decided it could be vintage too.

Well, maybe not that last one.

Alright, photography community, please weigh in with your thoughts or expertise!  I plan on playing with this in more scenarios and with different subjects to see how it plays out.  Happy shooting!

Kelly

Wednesday, March 9, 2011

Side lighting

I wrote a post about this about a year ago, but I decided to take down the original post so I could go back and tackle this subject again.

I really love side lighting.  It’s really wonderful for shooting indoors in black and white and creating a wonderful, moody photo.

So much of how your photo’s mood is seen has to do with lighting.  I think side lighting can be somber, pensive, quiet and deeply emotional.

This shot takes an interesting turn on child portraiture.  She’s cute as a doll, but it’s a sweet, quiet, pensive shot - which I feel comes from the shadows and contrast.

IMG_2237

Same idea, different day.  I shot with the light of a glass door between her and I, then bumped the contrast even more in post processing.

The moodiness the light lends puts her deep in thought.

IMG_9347

This also reads as a somber mood to me, even though the light is more behind him than to the side.

IMG_2341

So, what do we take out of all this?  First, use natural light.  Second, break all the rules for using light!  Put the light behind your subject, next to it.  Experiment.  Photography isn’t a science, it’s an art and you will need to break rules and experiment to find your personal style.

Kelly

Thursday, March 3, 2011

A quick color printing guide

James Gilmore sometimes calls me the Queen of the Color Darkroom.  It’s a smelly, bleachy kingdom, but I’m happy to rule over it because I LOVE color photo printing.  There are plenty of photographers out there with black and white darkrooms, but for not a lot more effort, you could be creating color prints.  Think about what you could do with a Holga and a little cross processing or expired film! 

First, make your life easy and have your color film developed by someone else.  This is a hard one for me since I sit in the pitch black reeling film and stand at a sink agitating tanks for days on end with my black and white.  I know to push Tri-X and to pre-wet my film.  So if I can let go and drop my film off at a lab, so can you. 

Recommended:

-Crown Camera in Redding for 120 if you’re local.  Ask for process only and make sure they do it in house and you can get it back in a day or two.

-Any Rite Aid or 1 hour photo for 35mm.  It’s fast, it’s cheap.  Process only!

-Mail your film to Photoworks in SF.  If you call, they’ll even send you the padded mailing envelopes to send it in, prepaid postage and all.  http://www.photoworkssf.com/services-and-rates/mail-us-your-film

Now, let’s head to a color darkroom!

You really only need a couple things in addition to your black and white darkroom setup.

-A color enlarger (if you’re clever, you can turn off the filter packs on these and print black and white with it as well, great multi-use piece of equipment).
-A color print processor (this can be tricky, but some hobby processors sell for relatively cheap and they keep the chemicals at the right temperature – which is what makes color about 20% more difficult that black and white as far as darkroom setup)
-Color print safelights.  I’d like to point out that these don’t actually provide a lot of light, so also grab some glow in the dark tape to keep yourself from running into stuff.

Don’t want to hassle all that?  Take Art 11b from James Gilmore at College of the Siskiyous, it’s all set up for you.

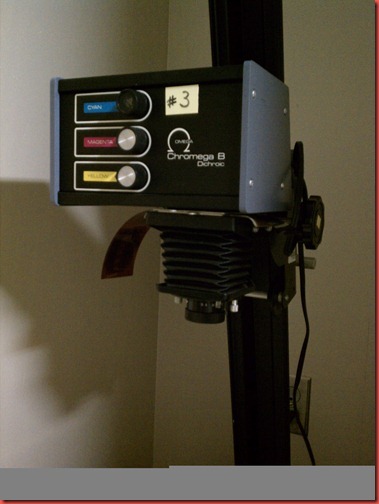
Here we go… put your negative into an enlarger.  Fun fact: I have a similar Omega color enlarger at my house.  It’s in the garage until summer when it’s warm enough to put a darkroom in our work shed.
IMAG0022

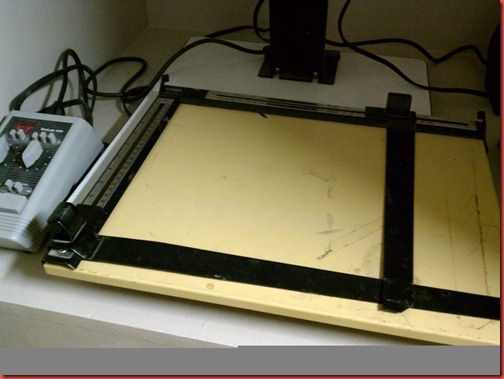
Set up an easel.  Turn off the lights and focus your print and all that fancy stuff.  I’m printing something square here, thus the square setup on the easel.
IMAG0023

Now we need to set our exposure time and color filter packs.  You’ll be adjusting your dye packs to achieve color balance while also adjusting exposure.  It’s super fun.
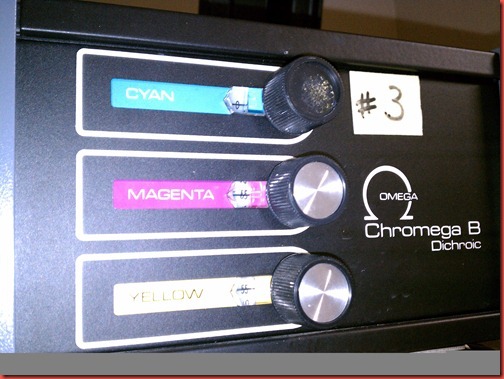
IMAG0024

If you have a nice printing paper, like Kodak Supra Endura, they list some starting points for color balance – as each type of paper is slightly different.
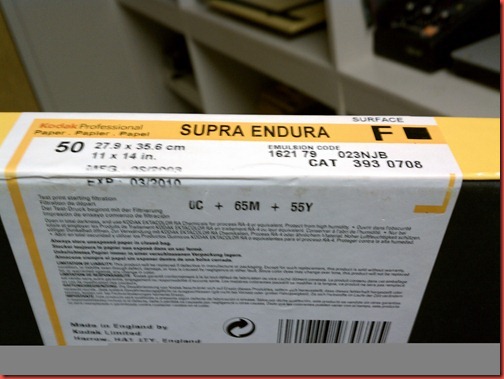
IMAG0025

Okay, now run a test print and put it in the processor.  Isn’t that the cutest little processor?  Don’t bump it though!!!
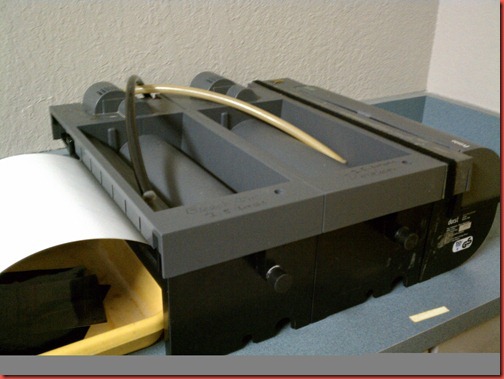
IMAG0026

Here’s a print.  Wait til it’s dry.  Using the color correction filters from the last post, see what color adjustments you need to make.  This print is too yellow, so I’m going to ADD 10 yellow to my color filter pack.  It’s backwards, but that’s how it works.
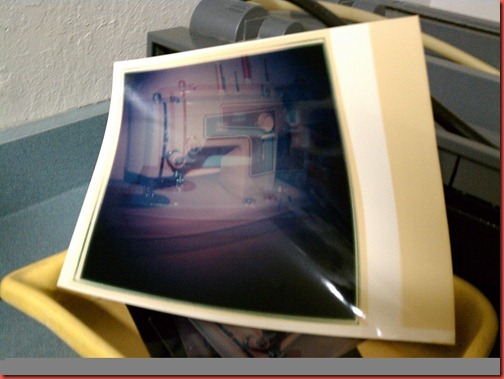
IMAG0027

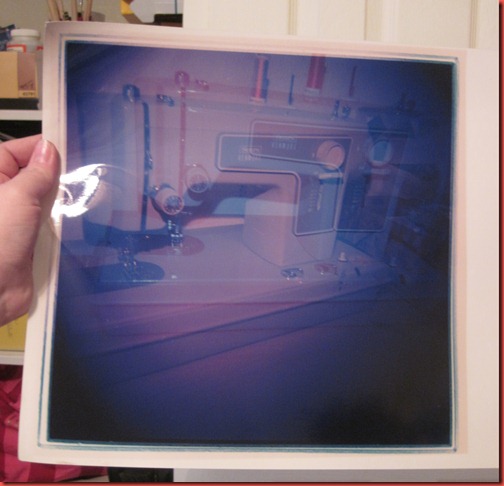
Finally, you have a print.  This is one of my Diana with gel flash and expired film weird prints.  I love ‘em.  I’m going to run off about 10 more and sell them at the Dunsmuir Co-Op Gallery opening March 26th!
IMG_6653

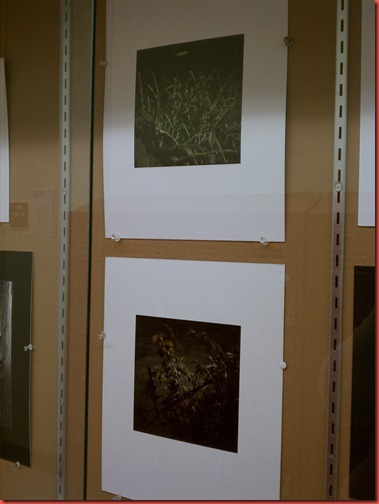
Here are 2 more that I’m in love with – but they got thrown in a display case at the COS art department before I could photograph them.
1299106433775

And that’s all there is to it.  It’s pretty easy, give it a try.  If you’re at COS, I’ll even come help you – since I’m the queen and all. *winks*
Kelly